
Parent Hacks: Homemade Almond Milk • Rhode Island Family Photographer
Every family has that one food or drink that they go through in record time. At our house, it's almond milk. We go through a ton, and I wanted to stop going to the market so much and also wanted to give my family a healthy alternative to the store-bought product that can contain unwanted additives. Could I make my own almond milk? I had a few ideas, I had done a quick read through of some tutorials, and I was determined. Was I successful? Yes! And you can be successful, too!
You'll need:
- Almonds (roasted are preferred but not necessary. For this tutorial I used two cups. Almonds were purchased from the bulk section at the South County Food Co-Op on Main Street in Wakefield, RI. Check out where you can buy in bulk in your area.)
- Water for soaking and and also blending
- A blender
- Some cheesecloth or something similar
- Large bowl
- Small bowl (optional)
- Strainer (optional)
- Storage container for final product
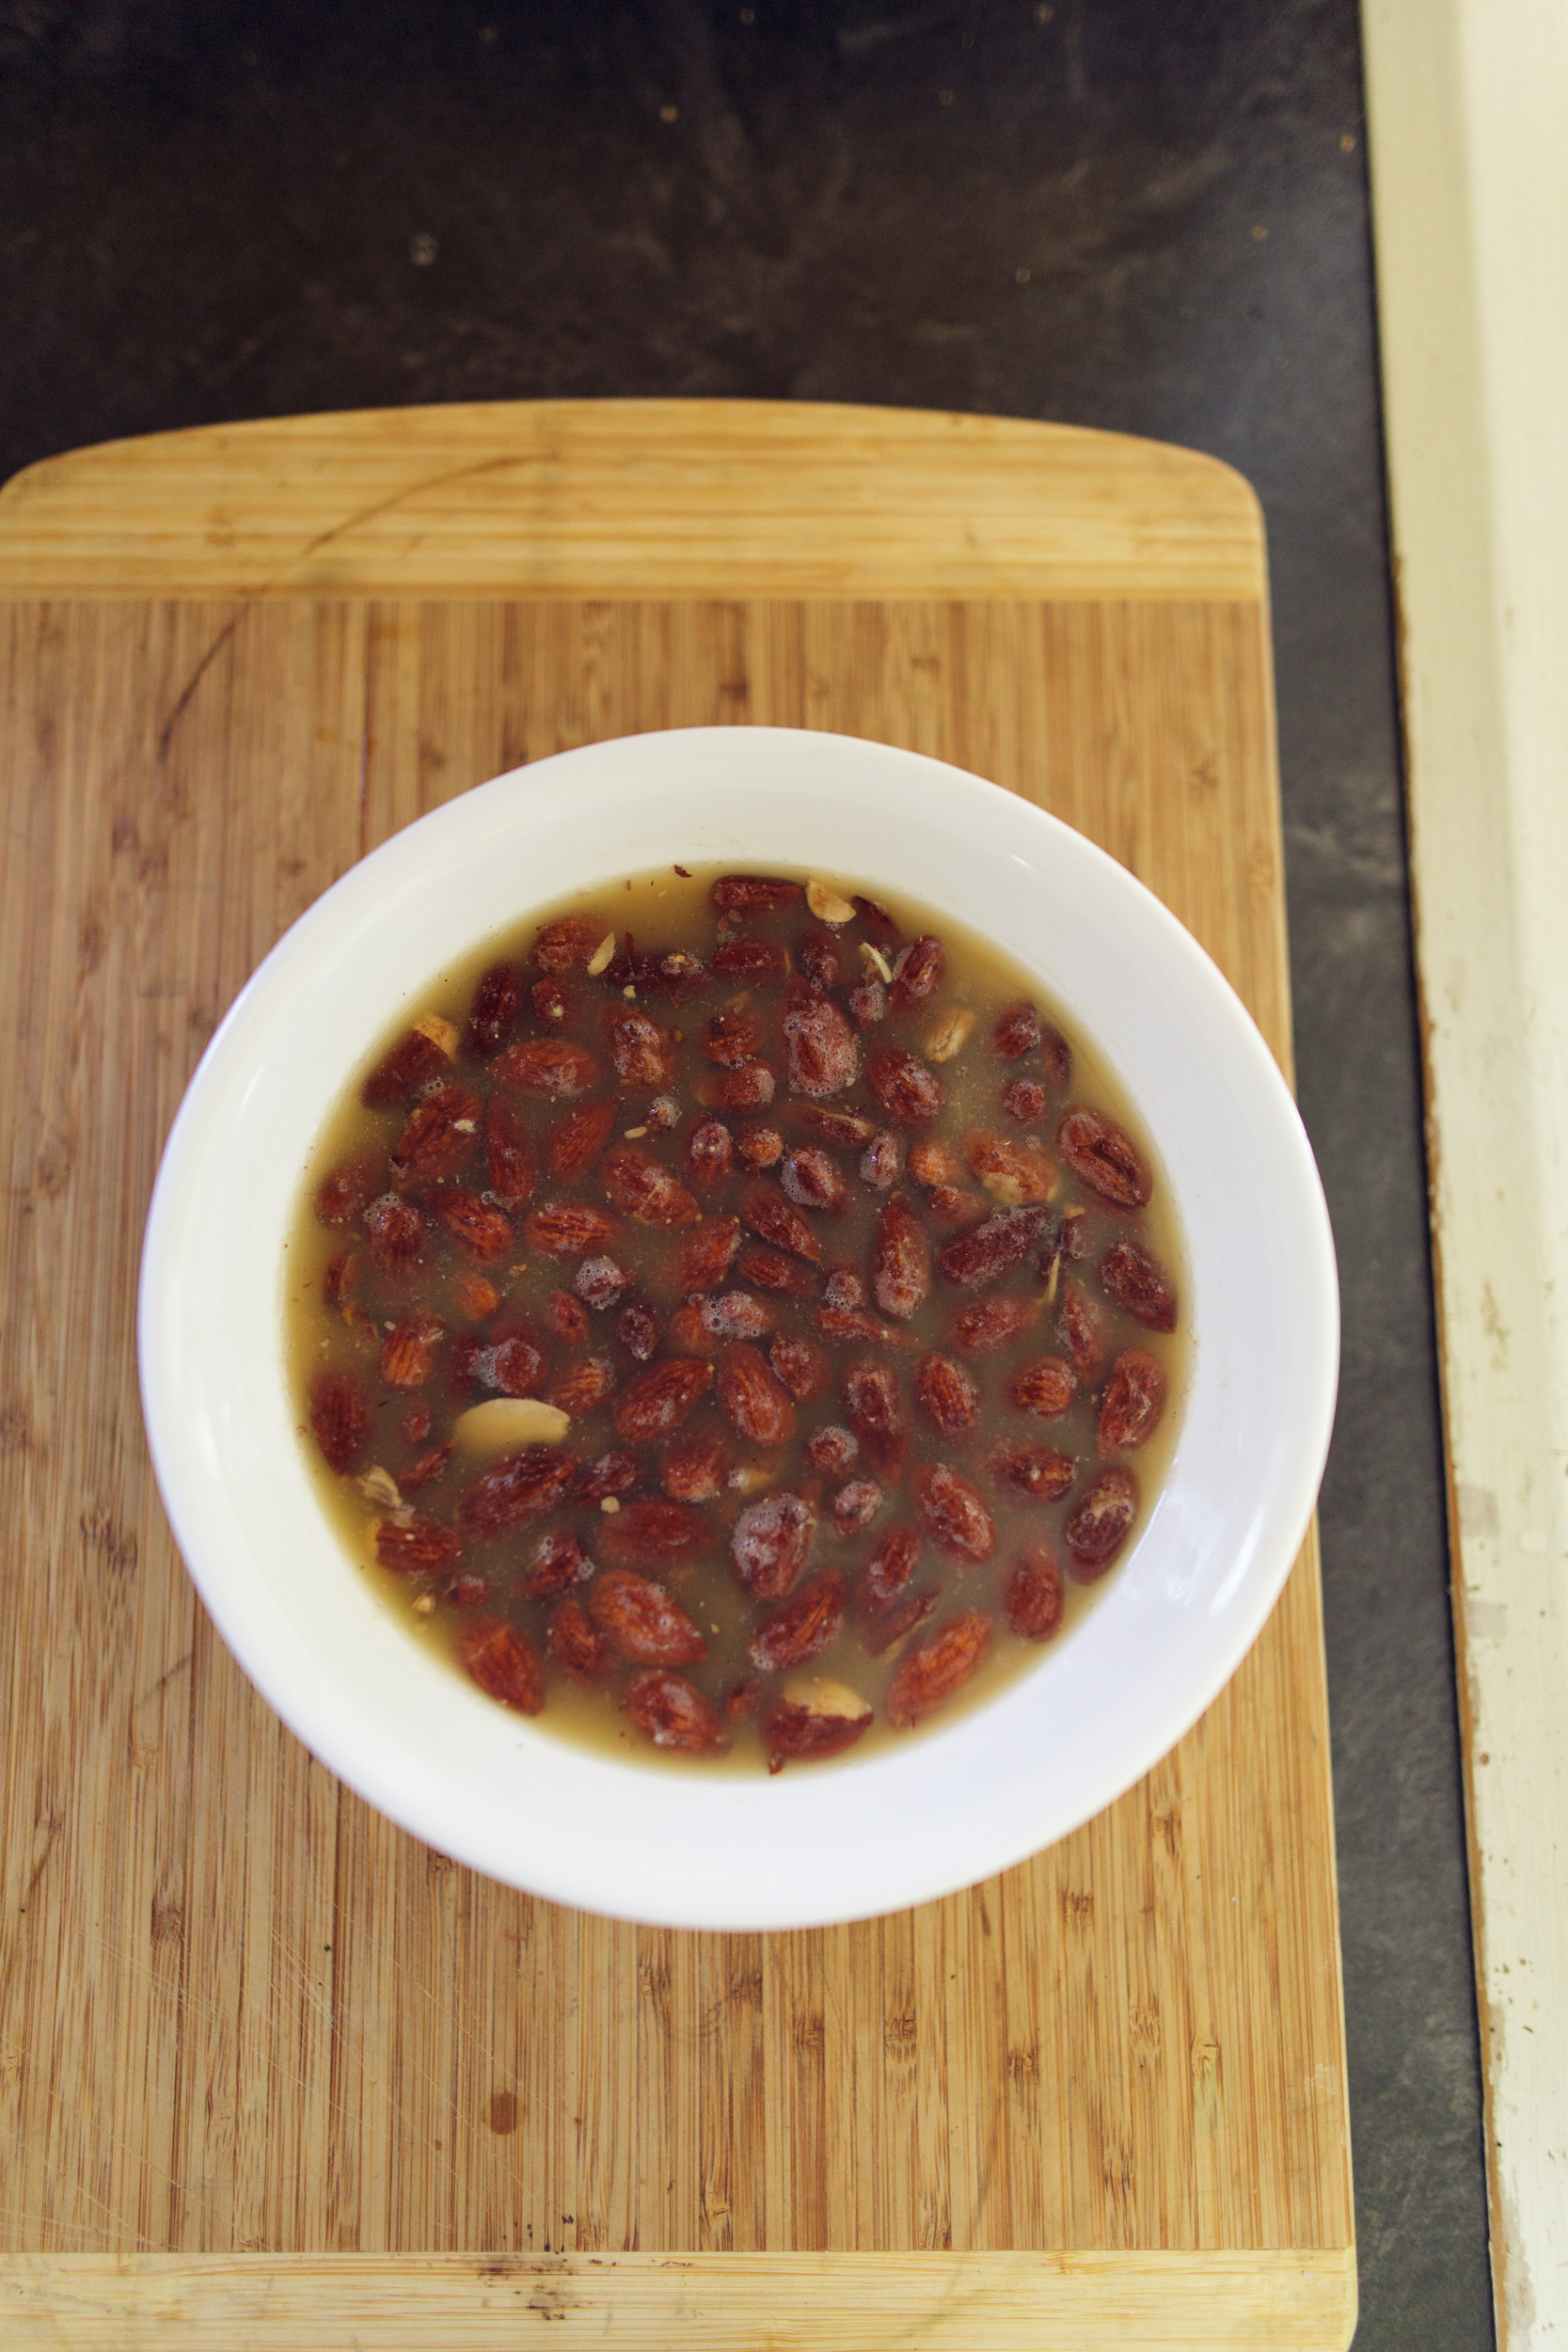
First, soak your almonds. Ideally they should be soaked for about 8-10 hours (4-5 hours will do in a pinch, but longer is better). I put my two cups of almonds in a bowl and added enough water so the almonds were just covered.
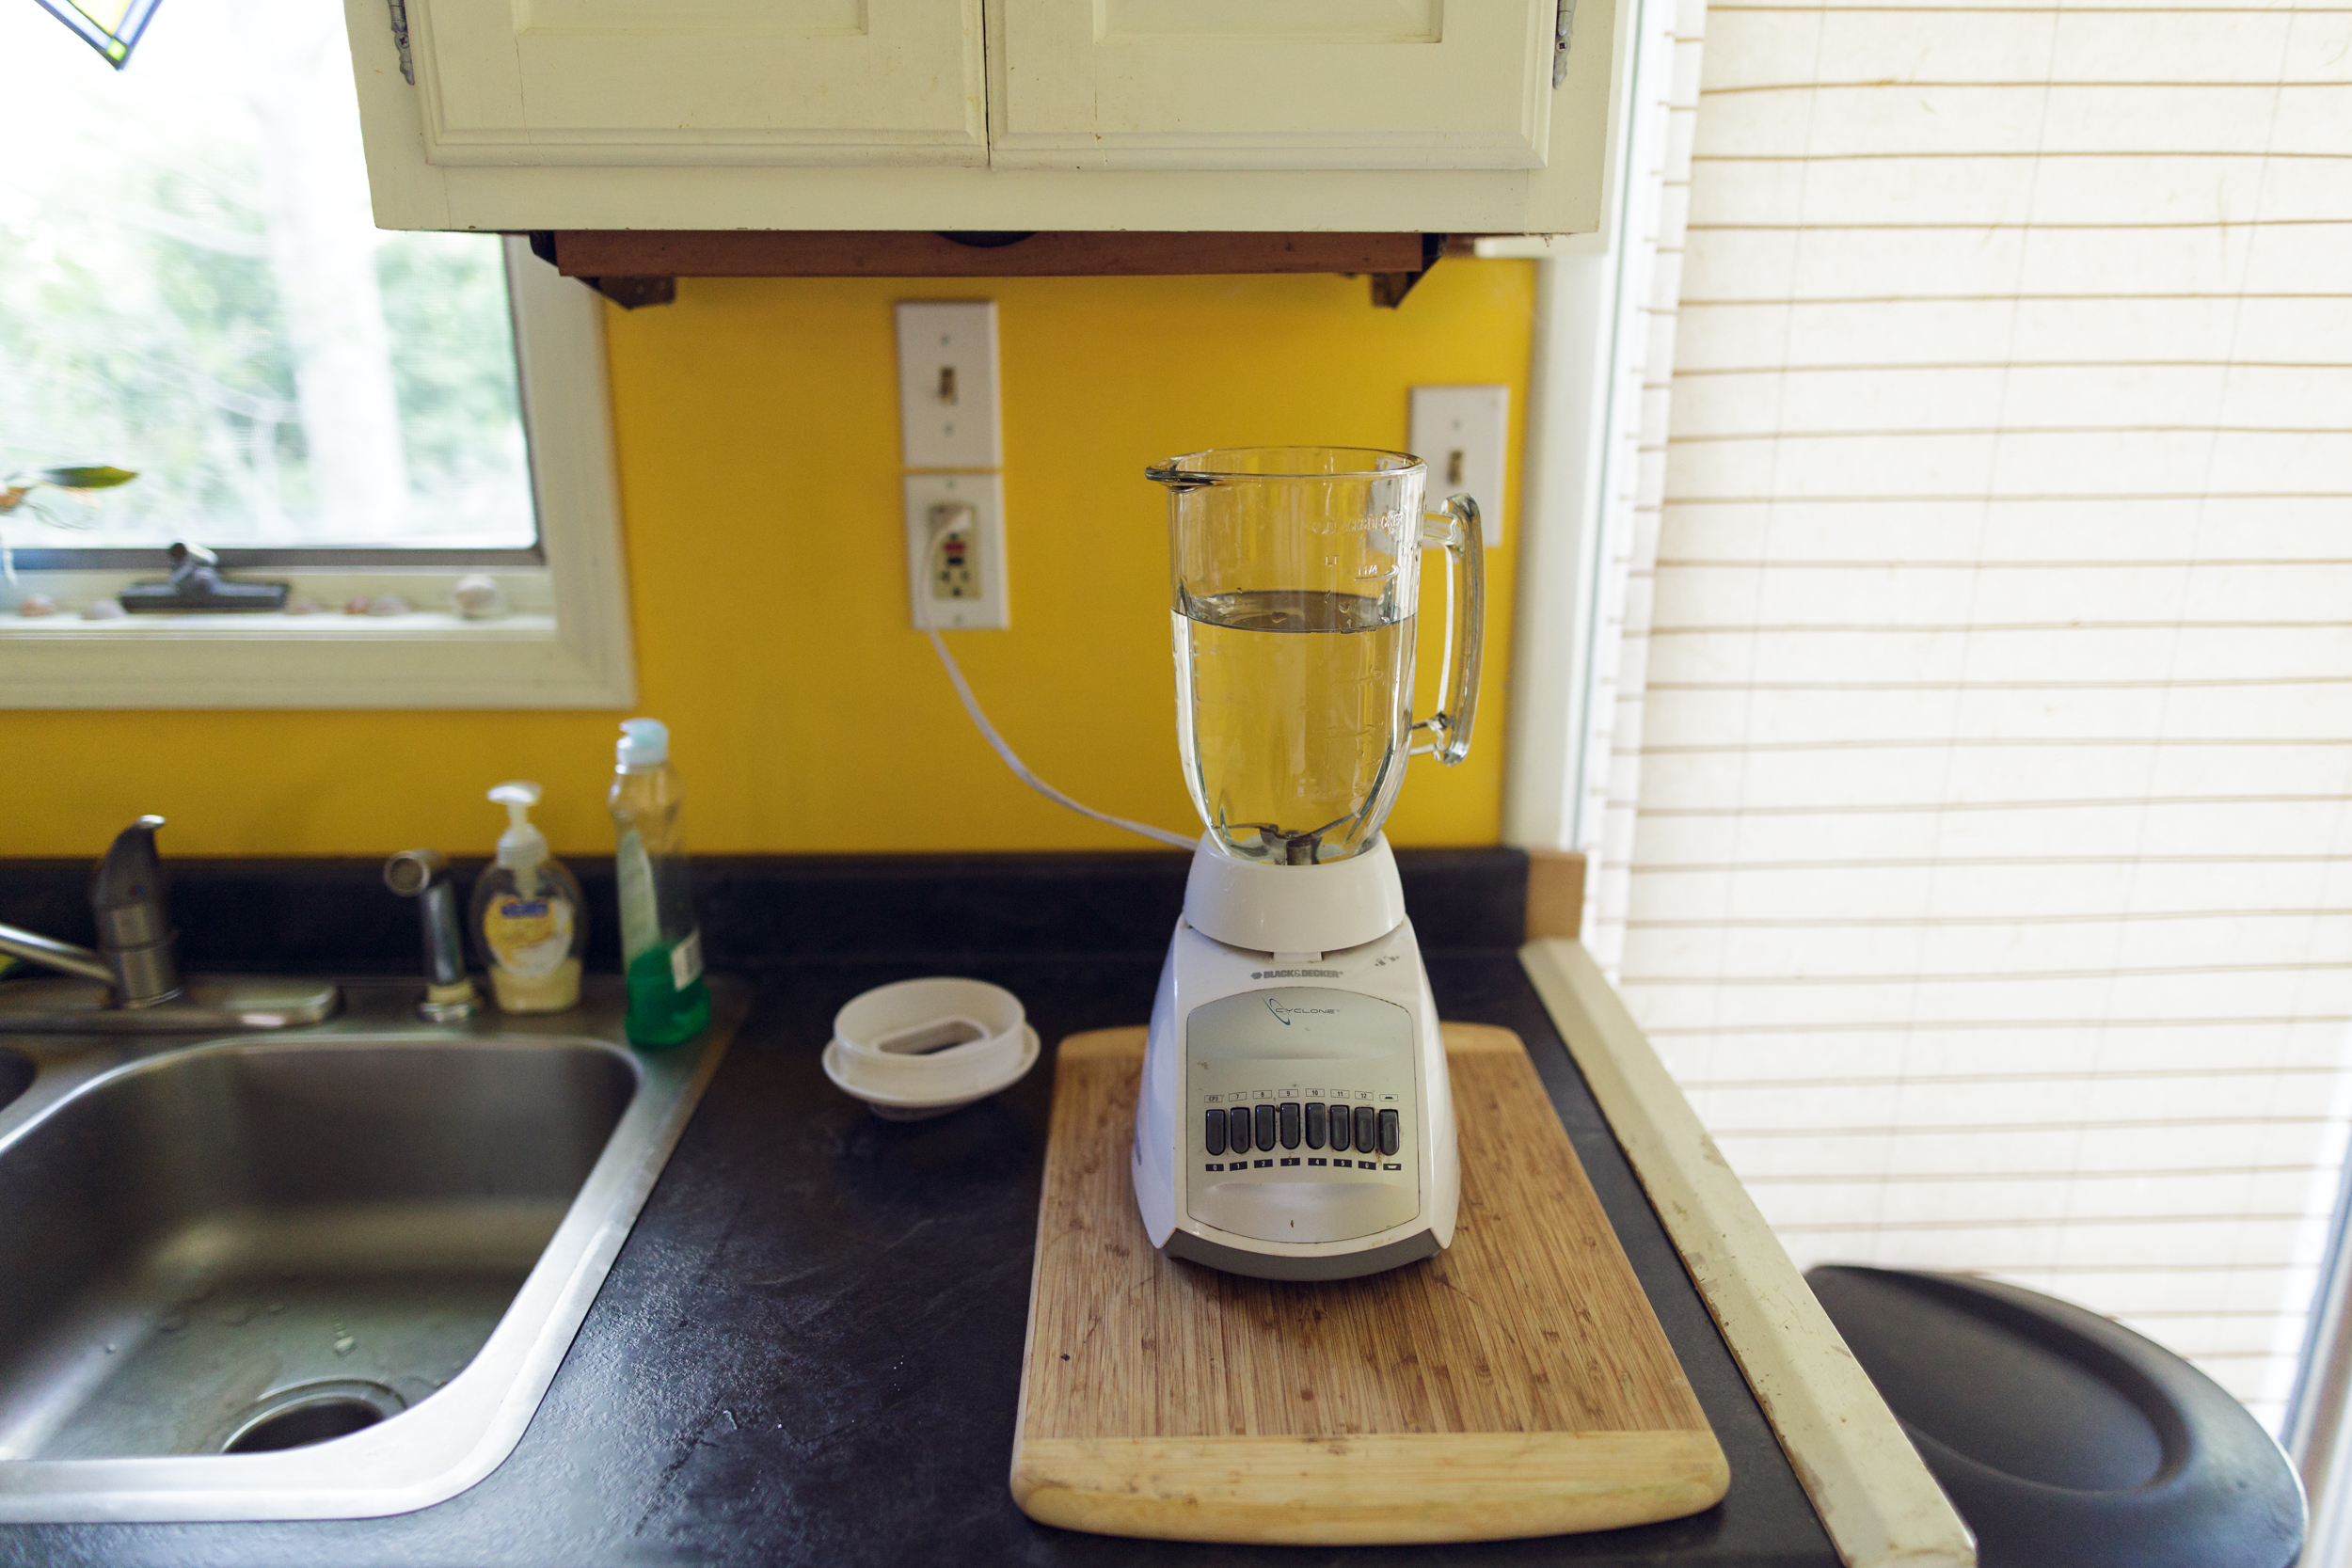
Add water to your blender. I've found that a 2:1 water to almonds ratio is what I like. So, since I used two cups of almonds, I'm using four cups of water. This can be tweaked based on what consistency and flavor you like your almond milk. Practice makes perfect!
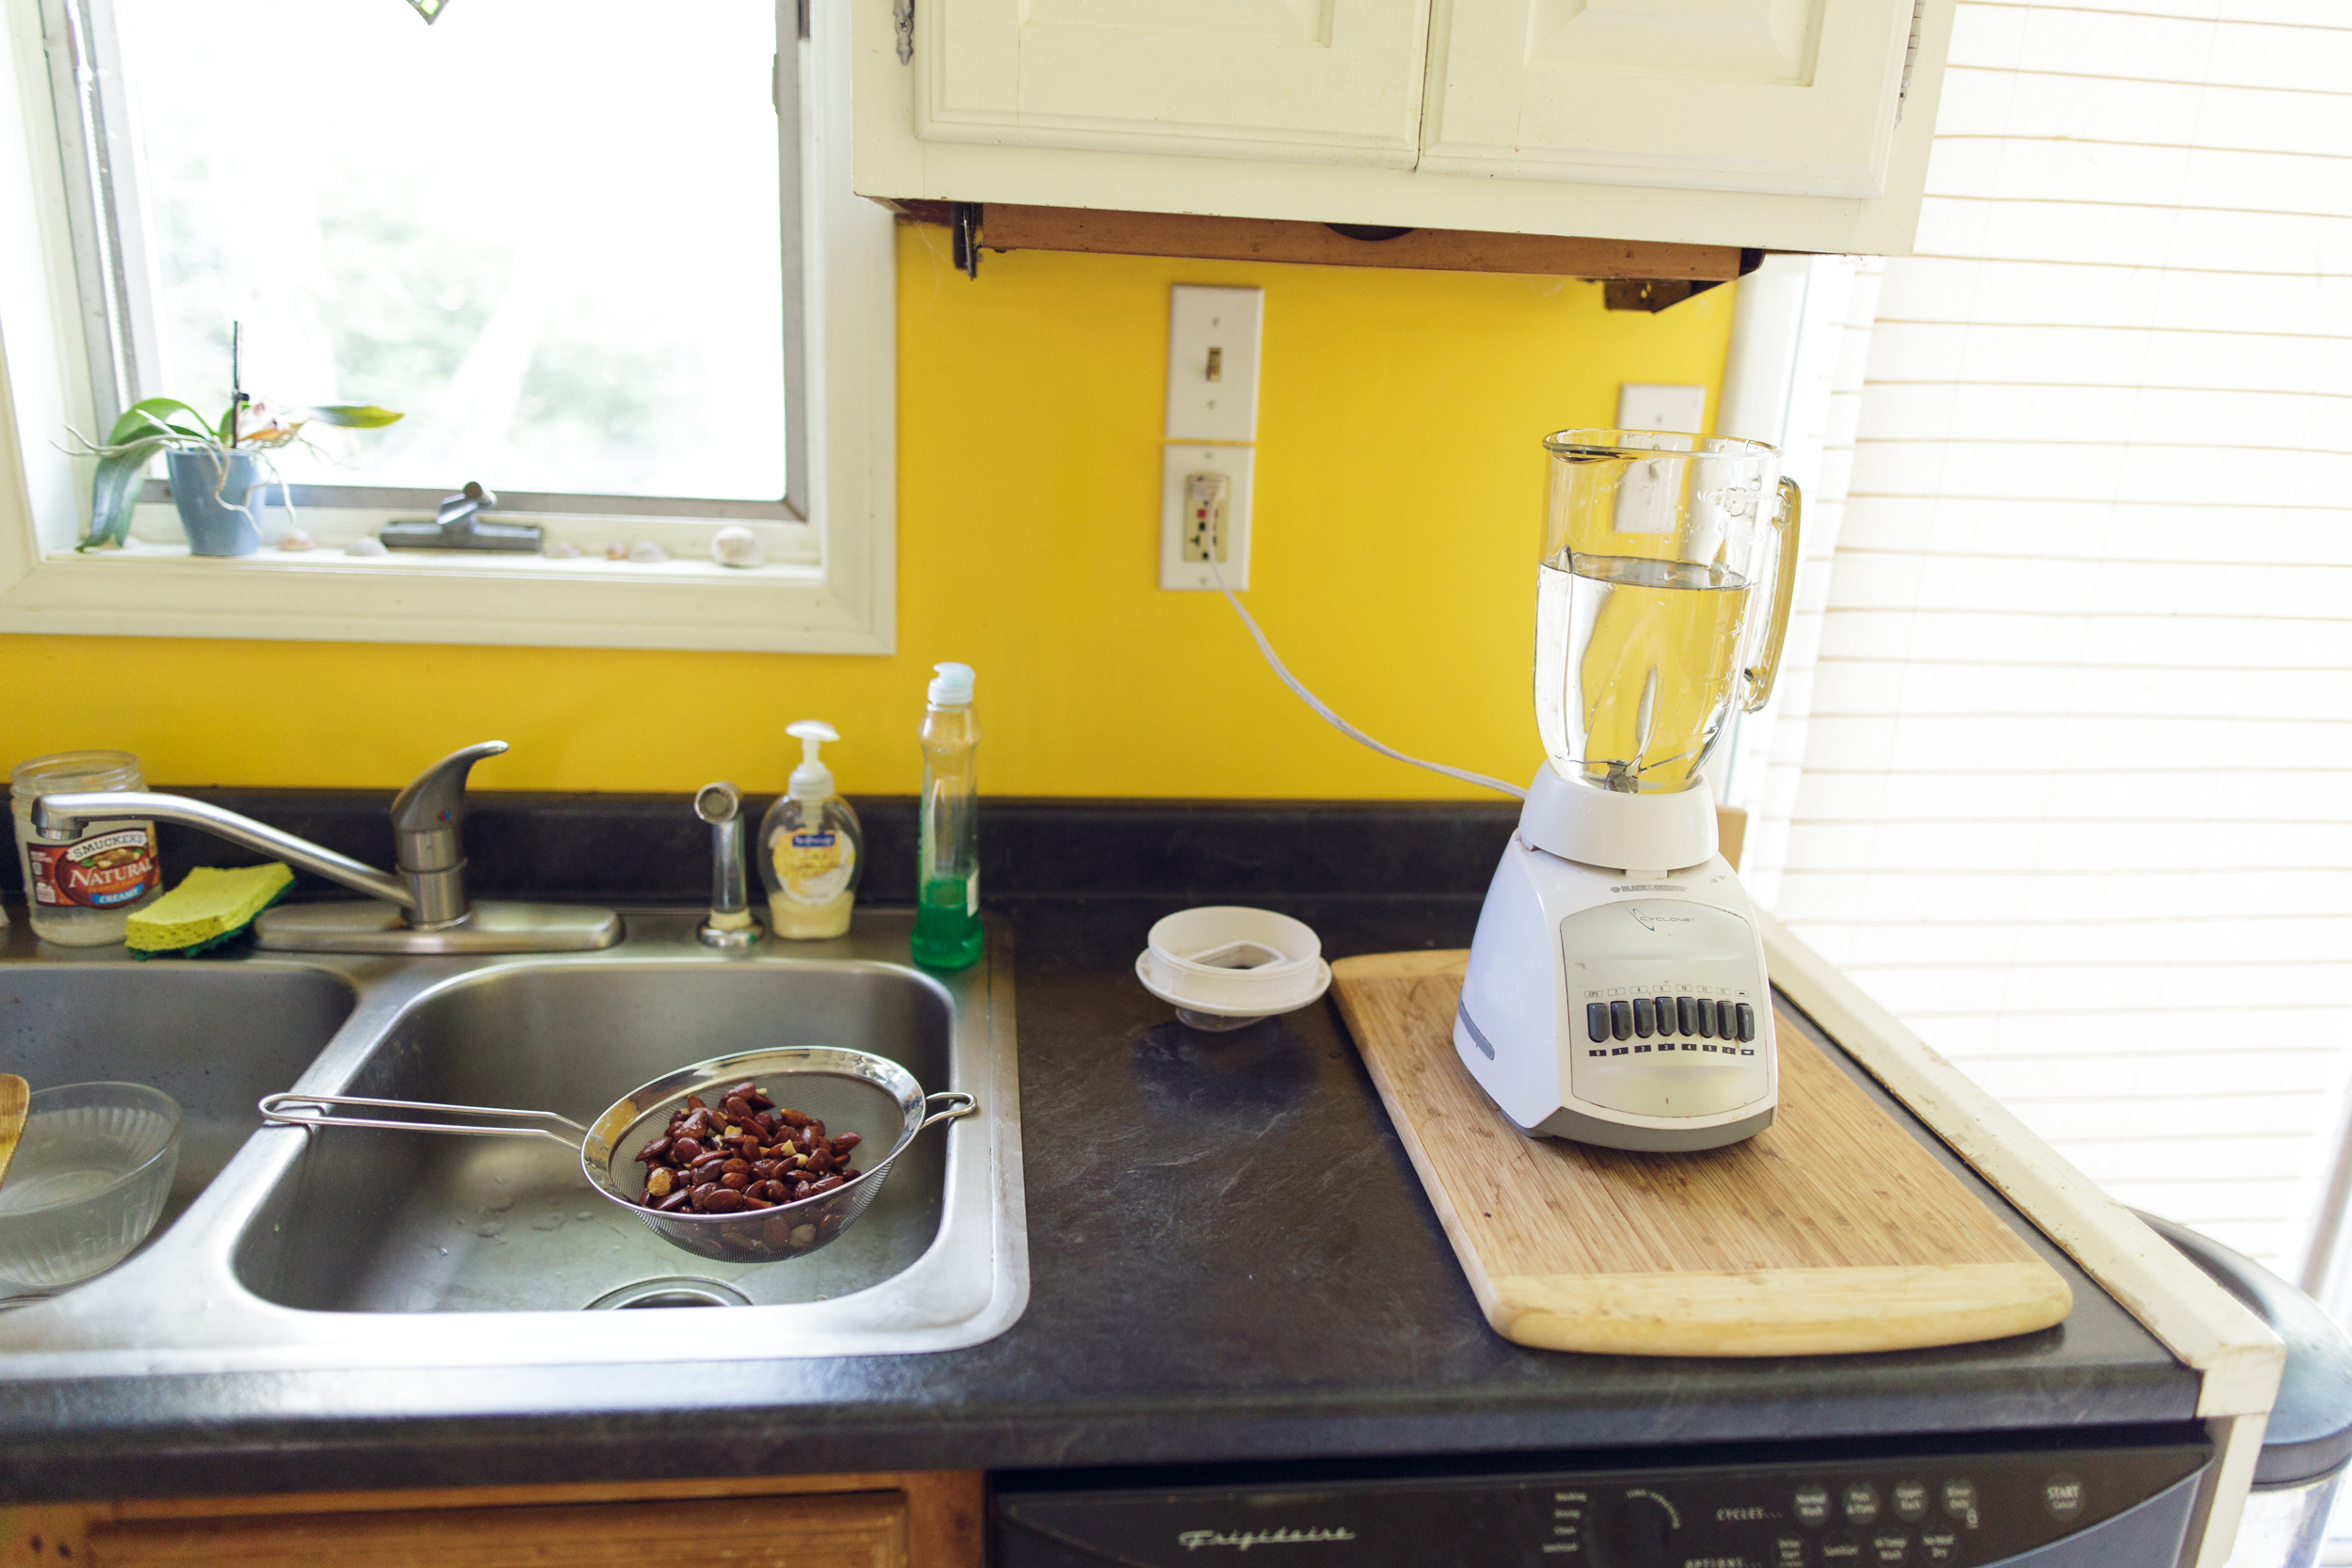
Drain the soaking water off the almonds. I used a mesh strainer to do so. Not necessary but it helped me!
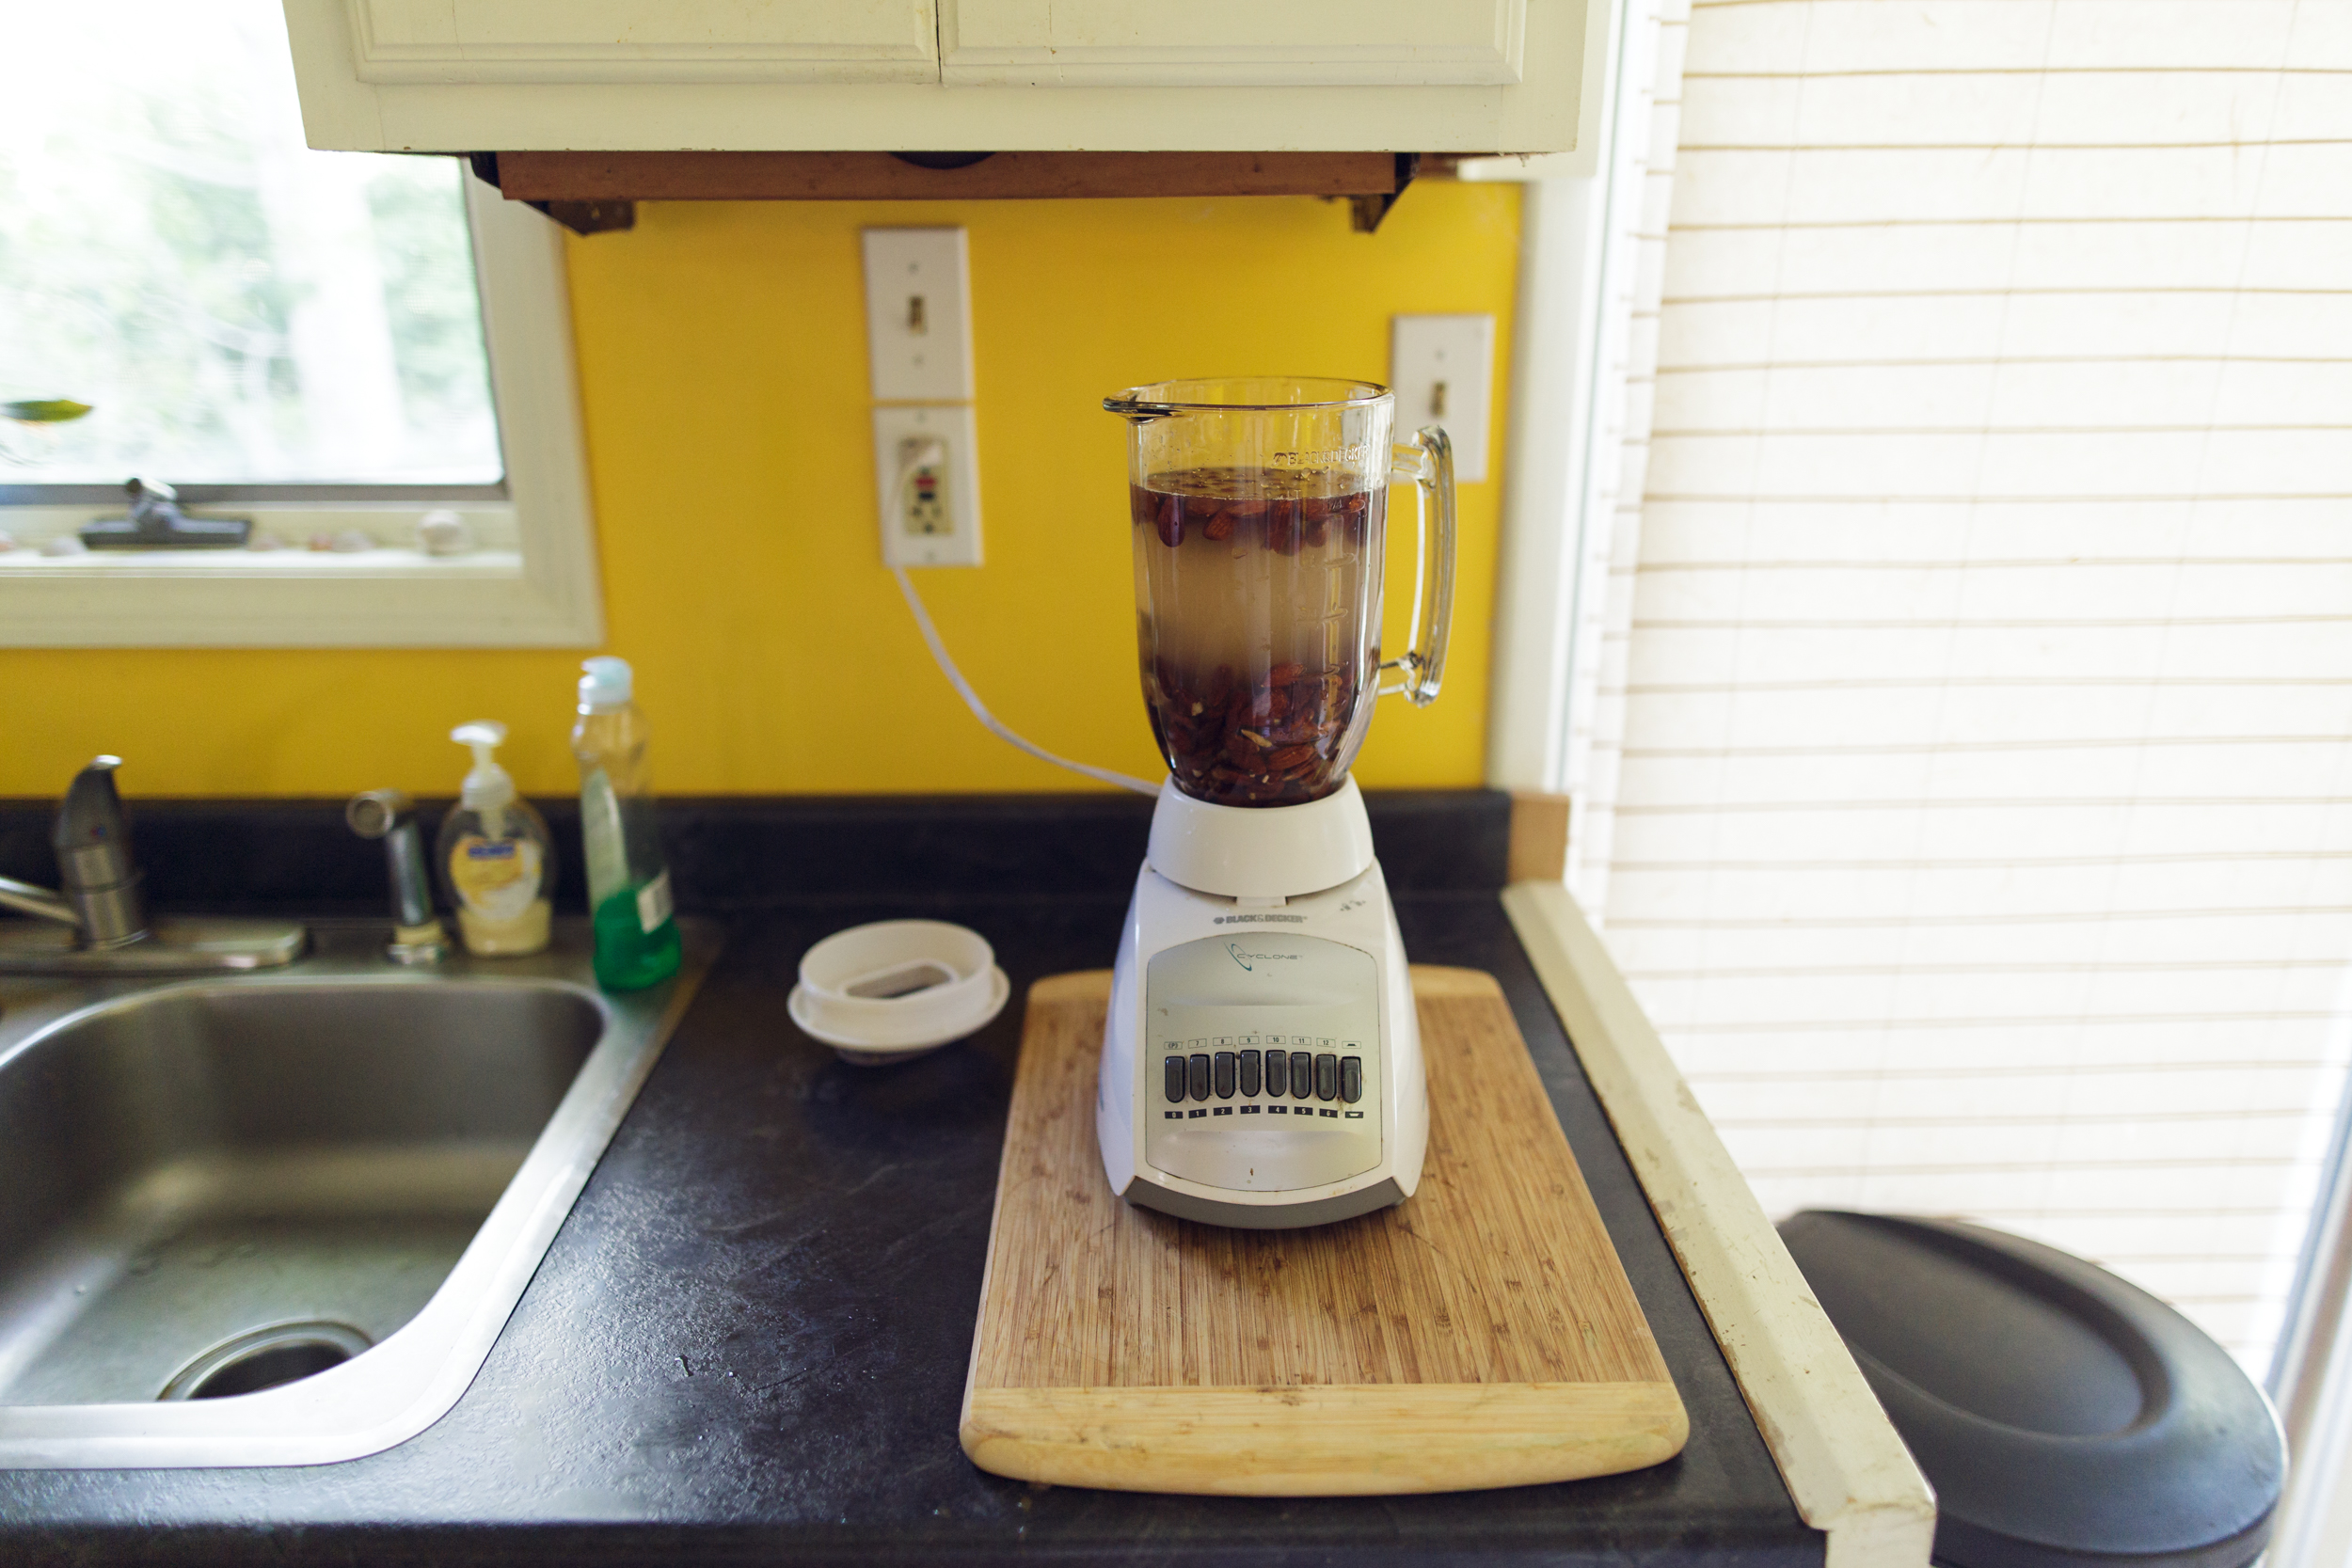
Add the drained almonds to the water in the blender.
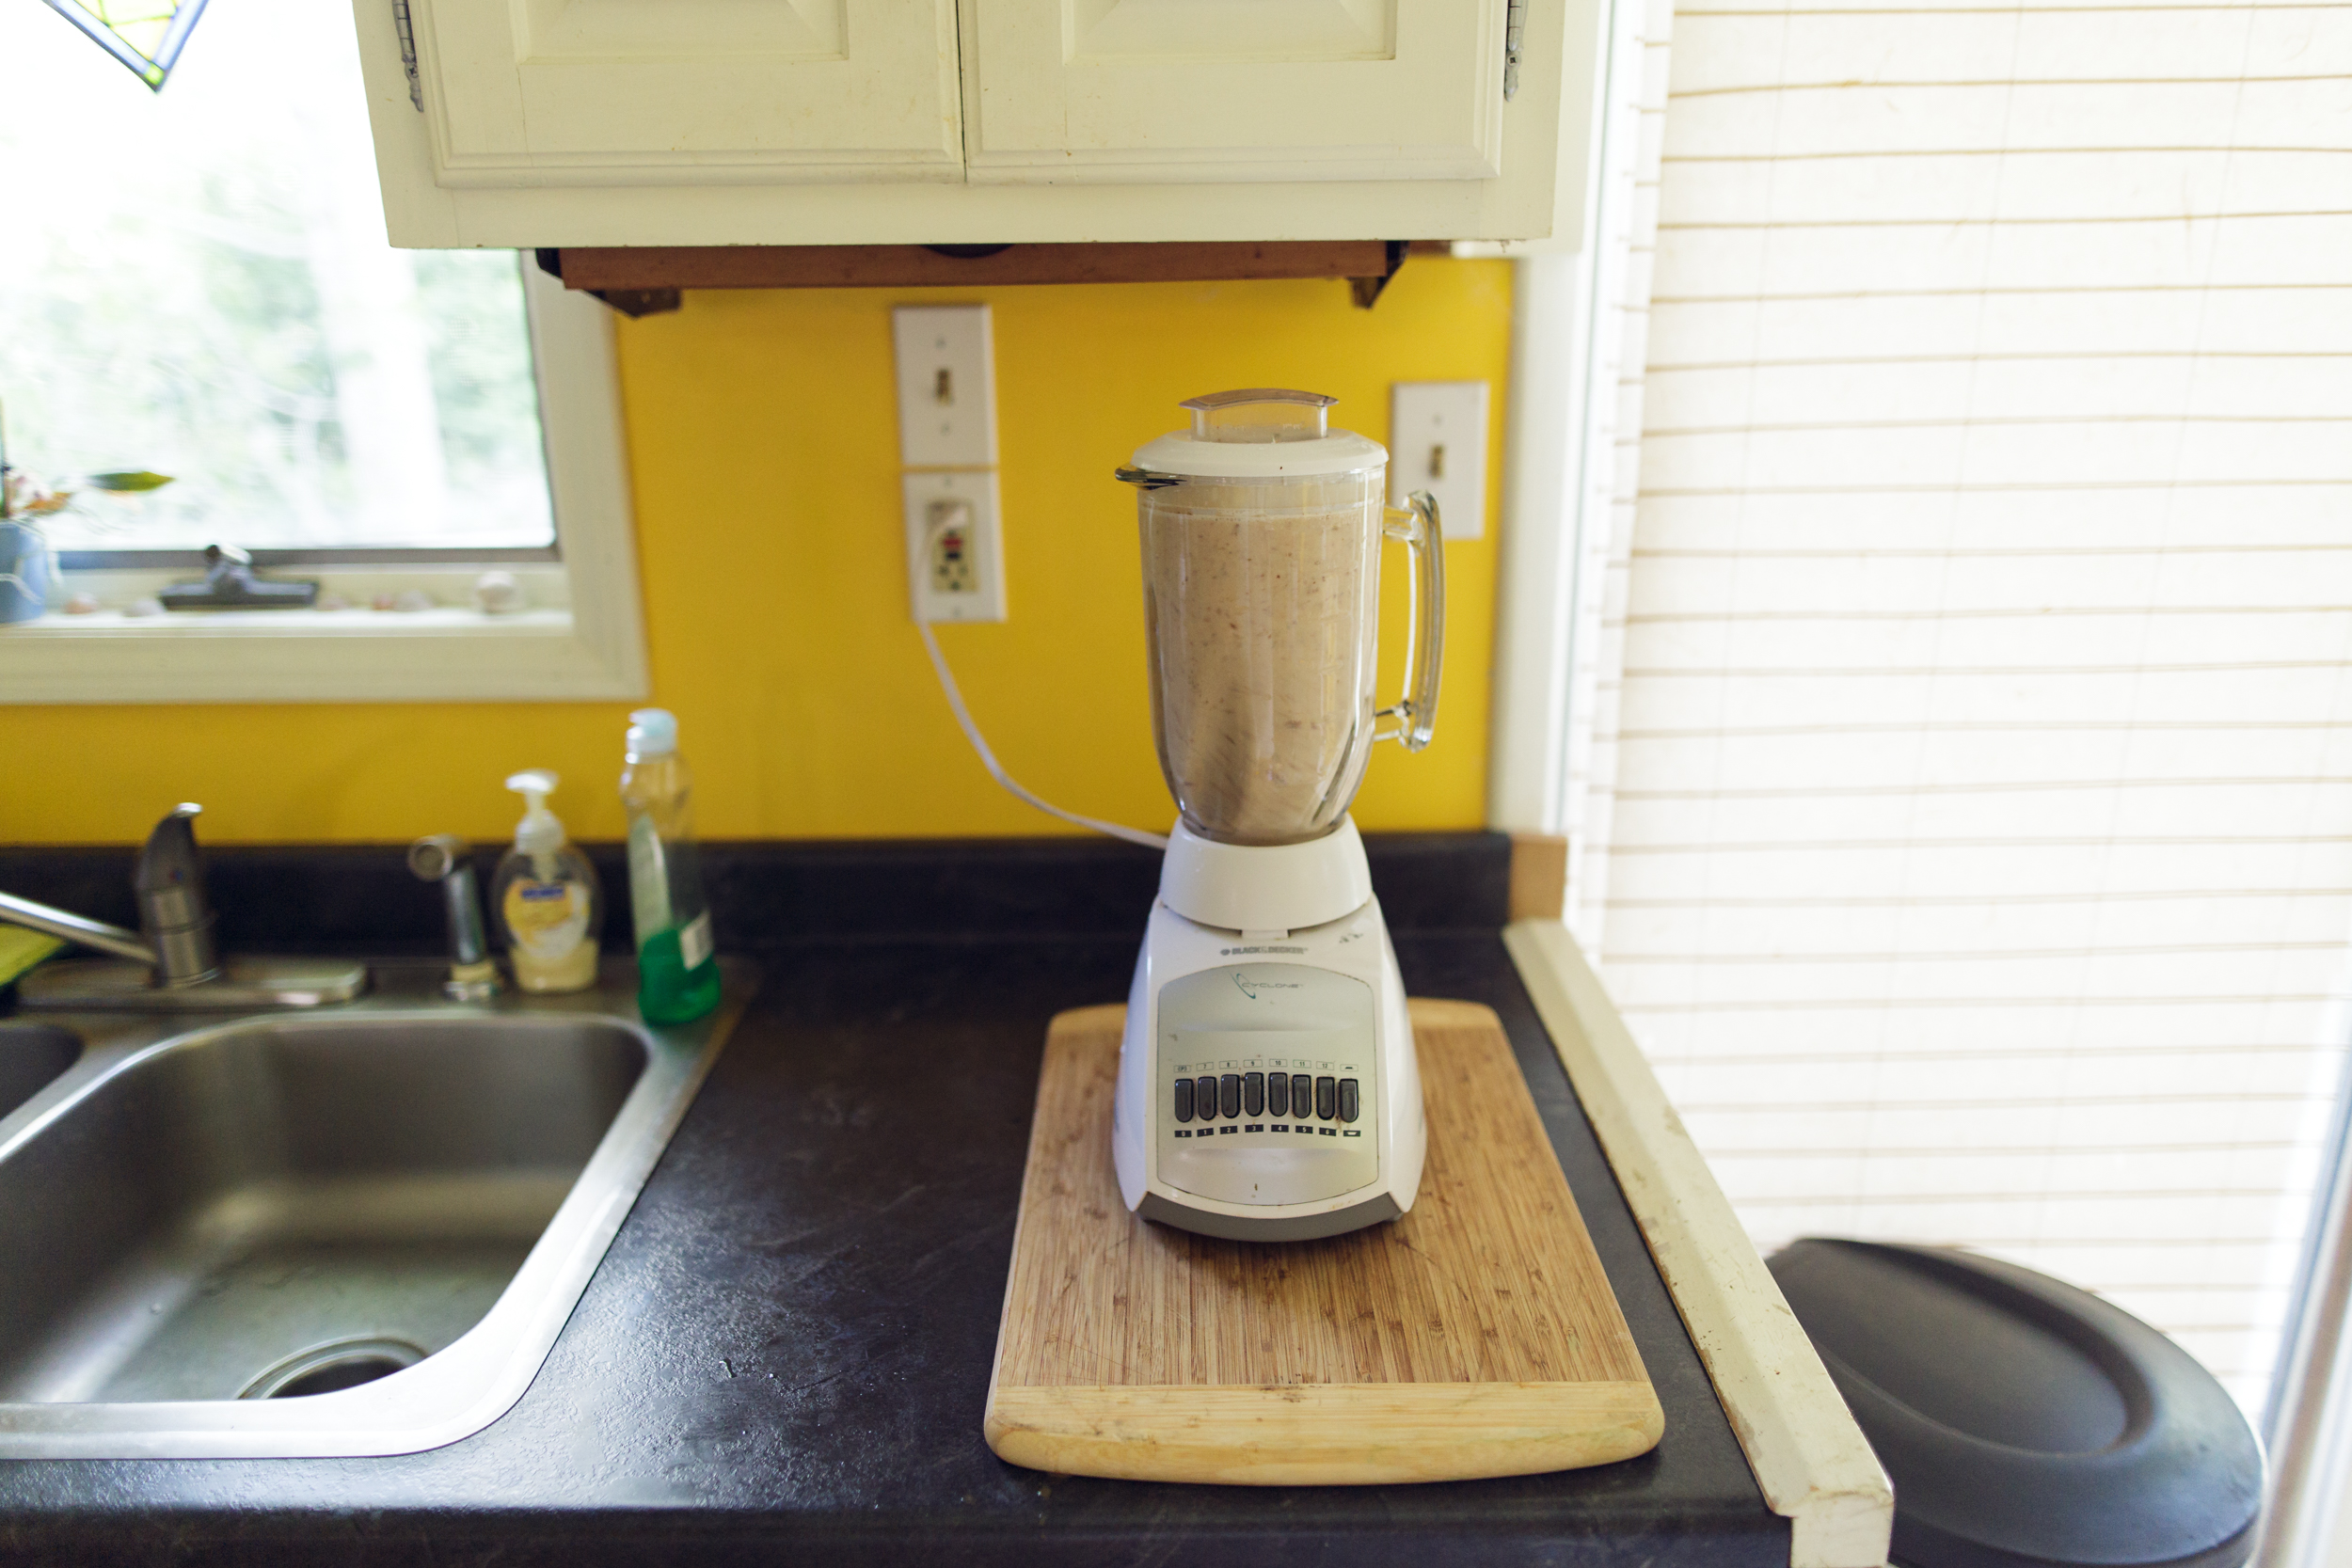
Turn on your blender. I turned it on the highest power. Is this correct? Who knows, but it worked for me. Leave the room if your blender is loud, or cover your ears and be entranced by the almonds swirling around in your blender! I ran the blender for a little over a minute. Worked great for me, but try and see what you like.
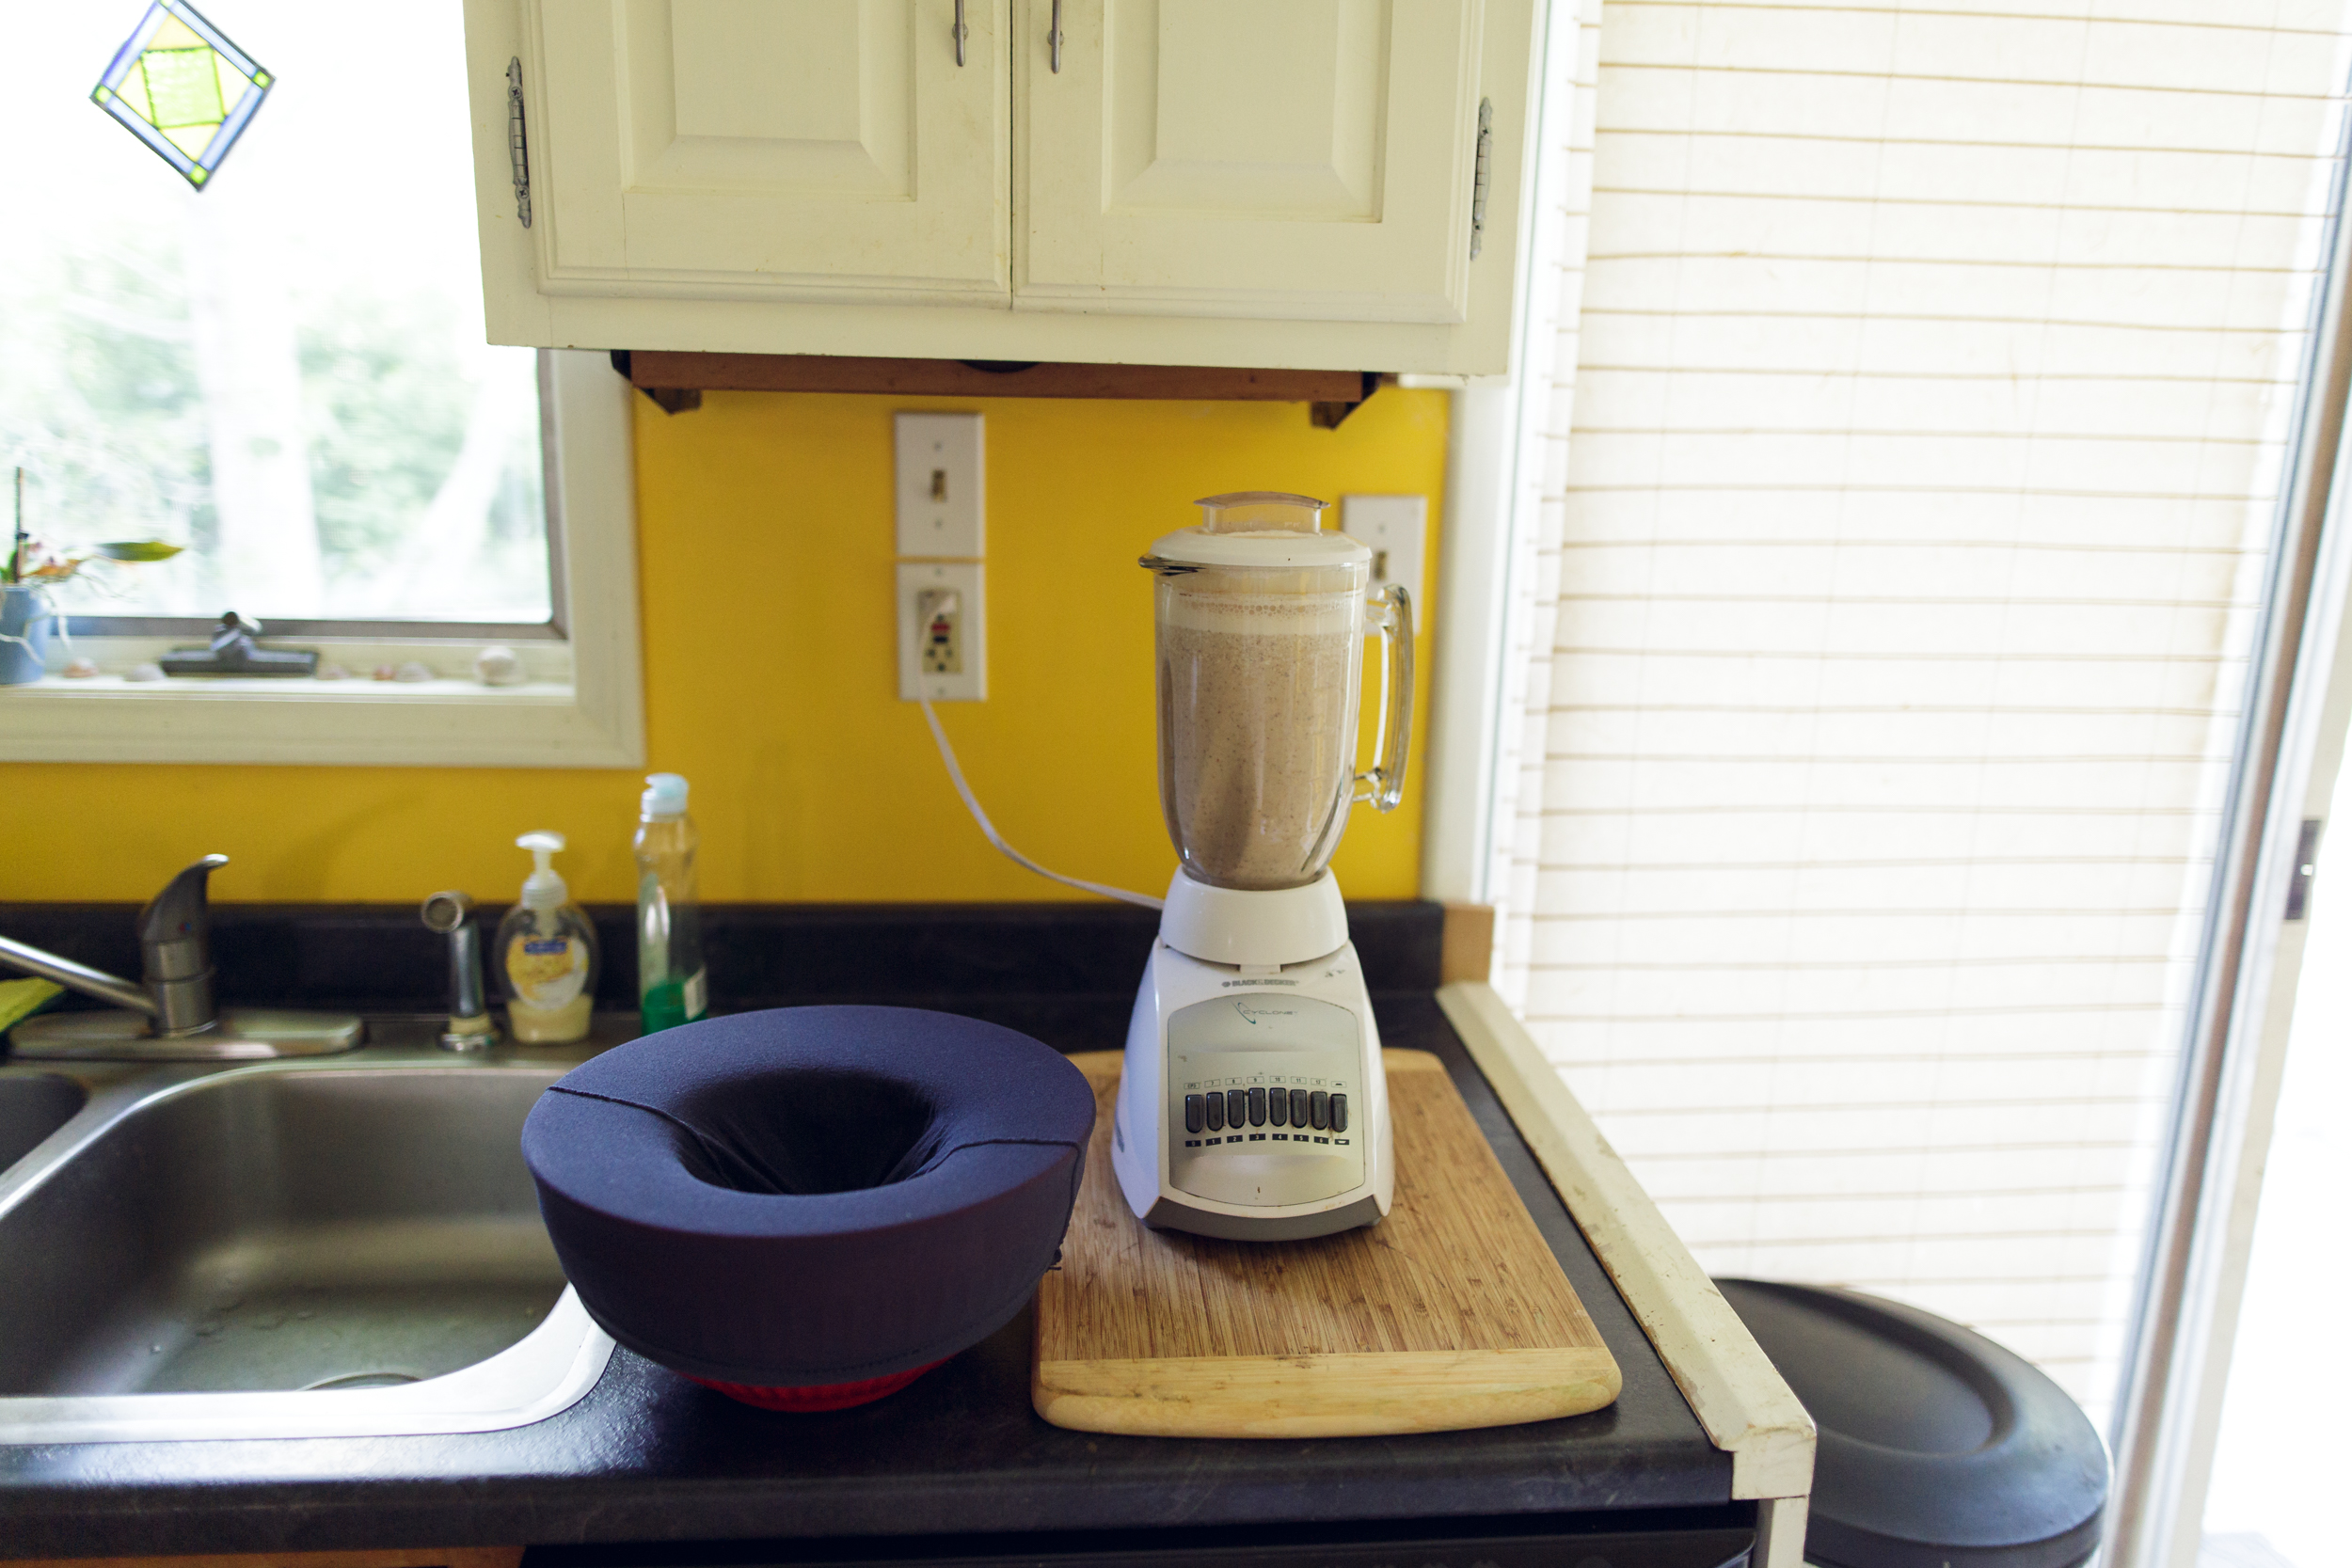
Once you've stopped your blender, it's time to get out your cheesecloth and put it over your bowl. I know, this is the weirdest cheesecloth you've ever seen. I didn't have cheesecloth so I used a never-worn pair of tights. I tied the legs of the tights off and stretched the waist over the bowl. In case you didn't know, my middle name is MacGyver.
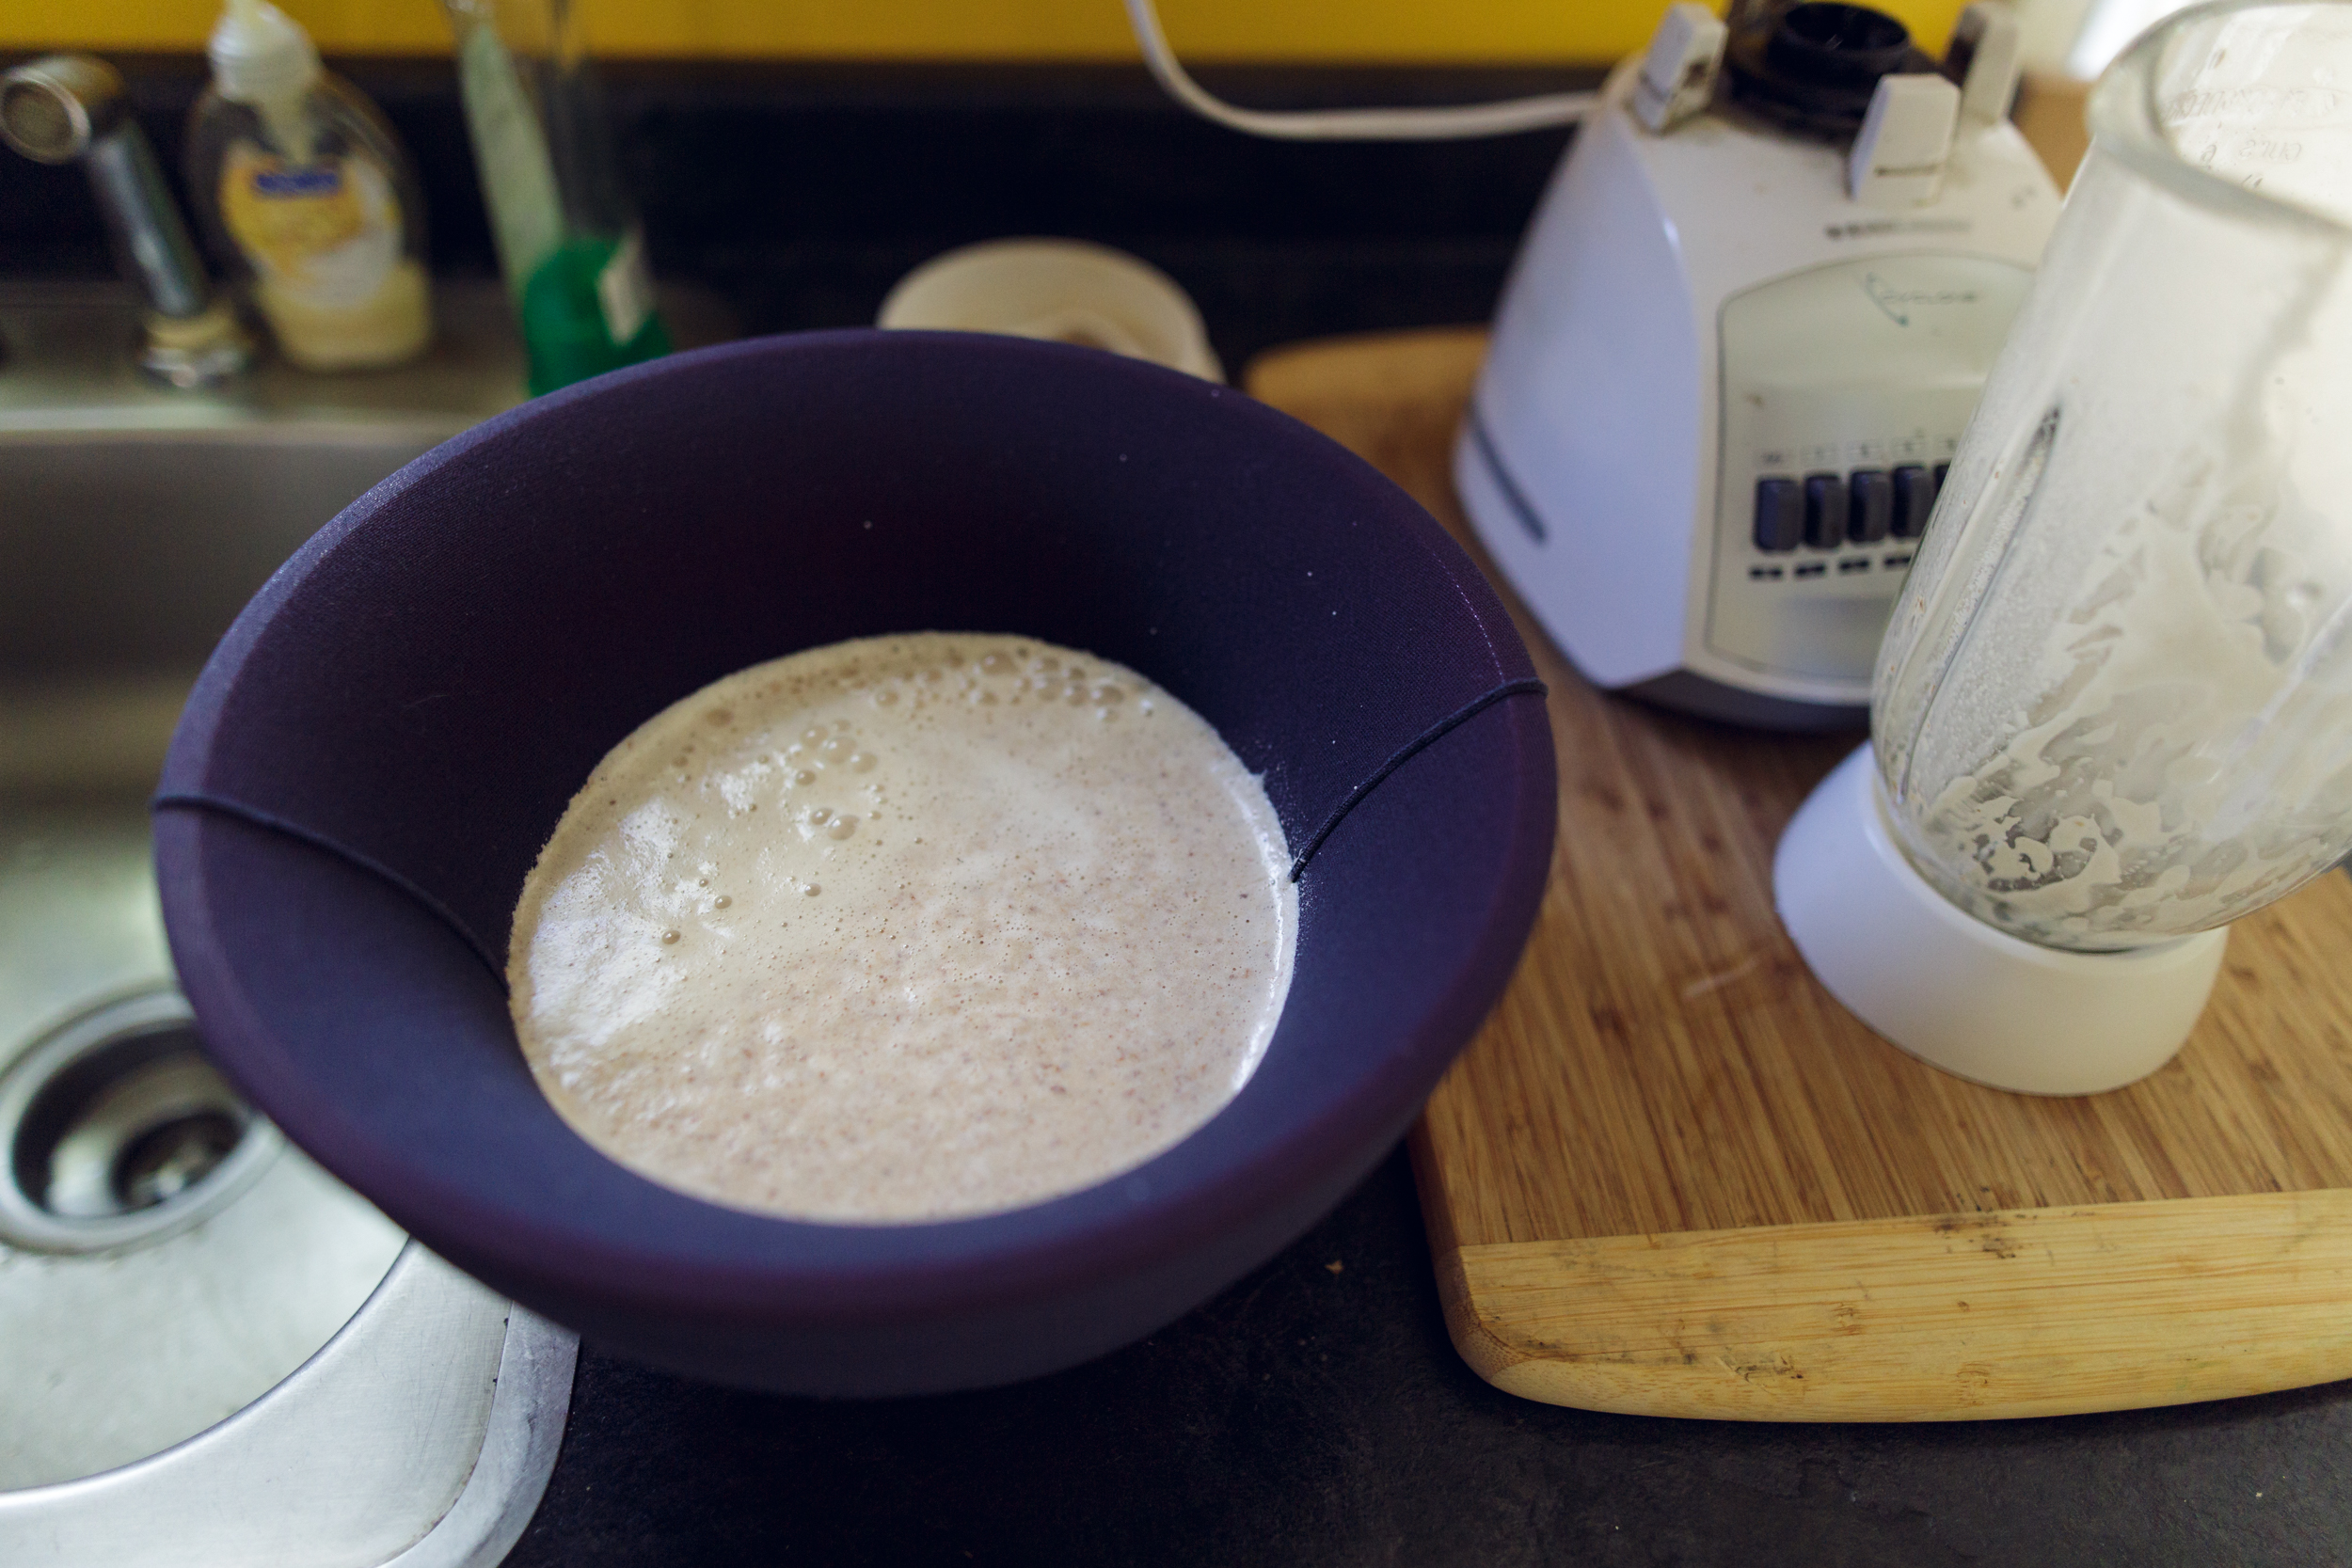
Pour your concoction from the blender into your draped cheesecloth (or tights). Once liquid has been poured into fabric, remove fabric edges from around bowl and gather fabric around liquid like a little "bag". Most liquid will have flowed into bowl. Squeeze bag to work out remaining liquid while keeping almond residue contained. This was my most favorite part of the process. It felt like I was squishing one of those stress balls!
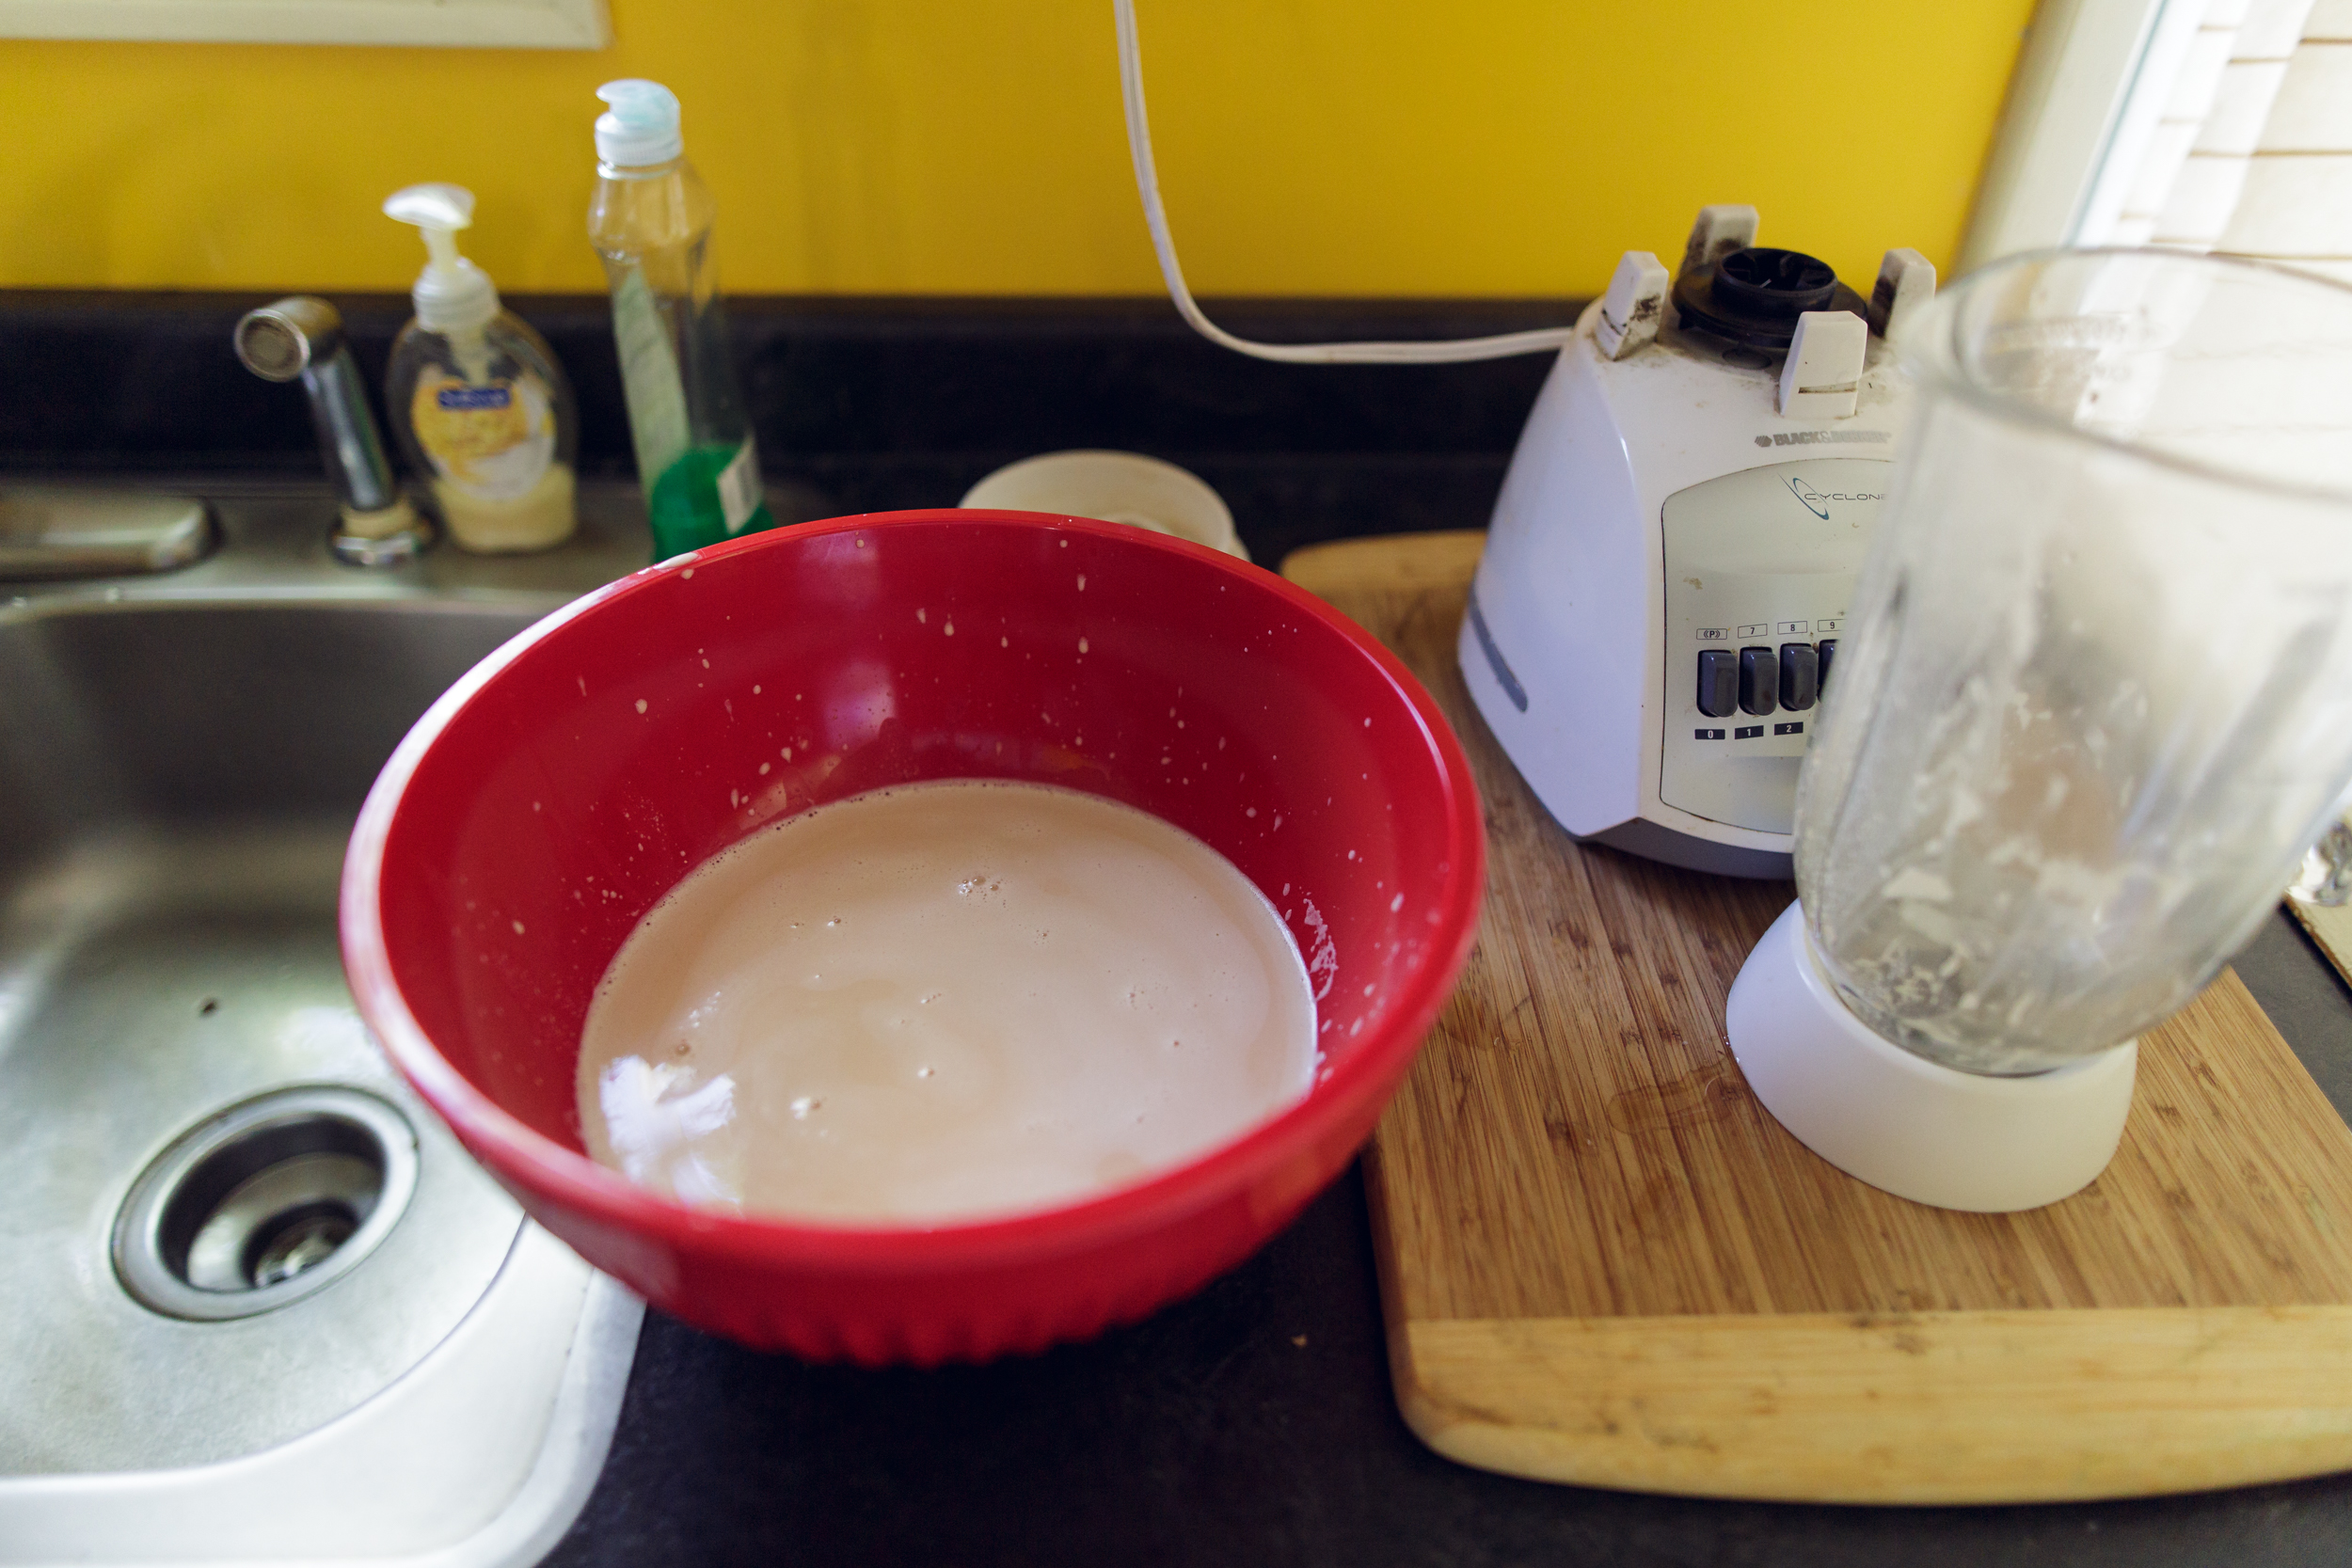
When you complete your squishing process, you'll have a liquid that looks like this in your bowl.
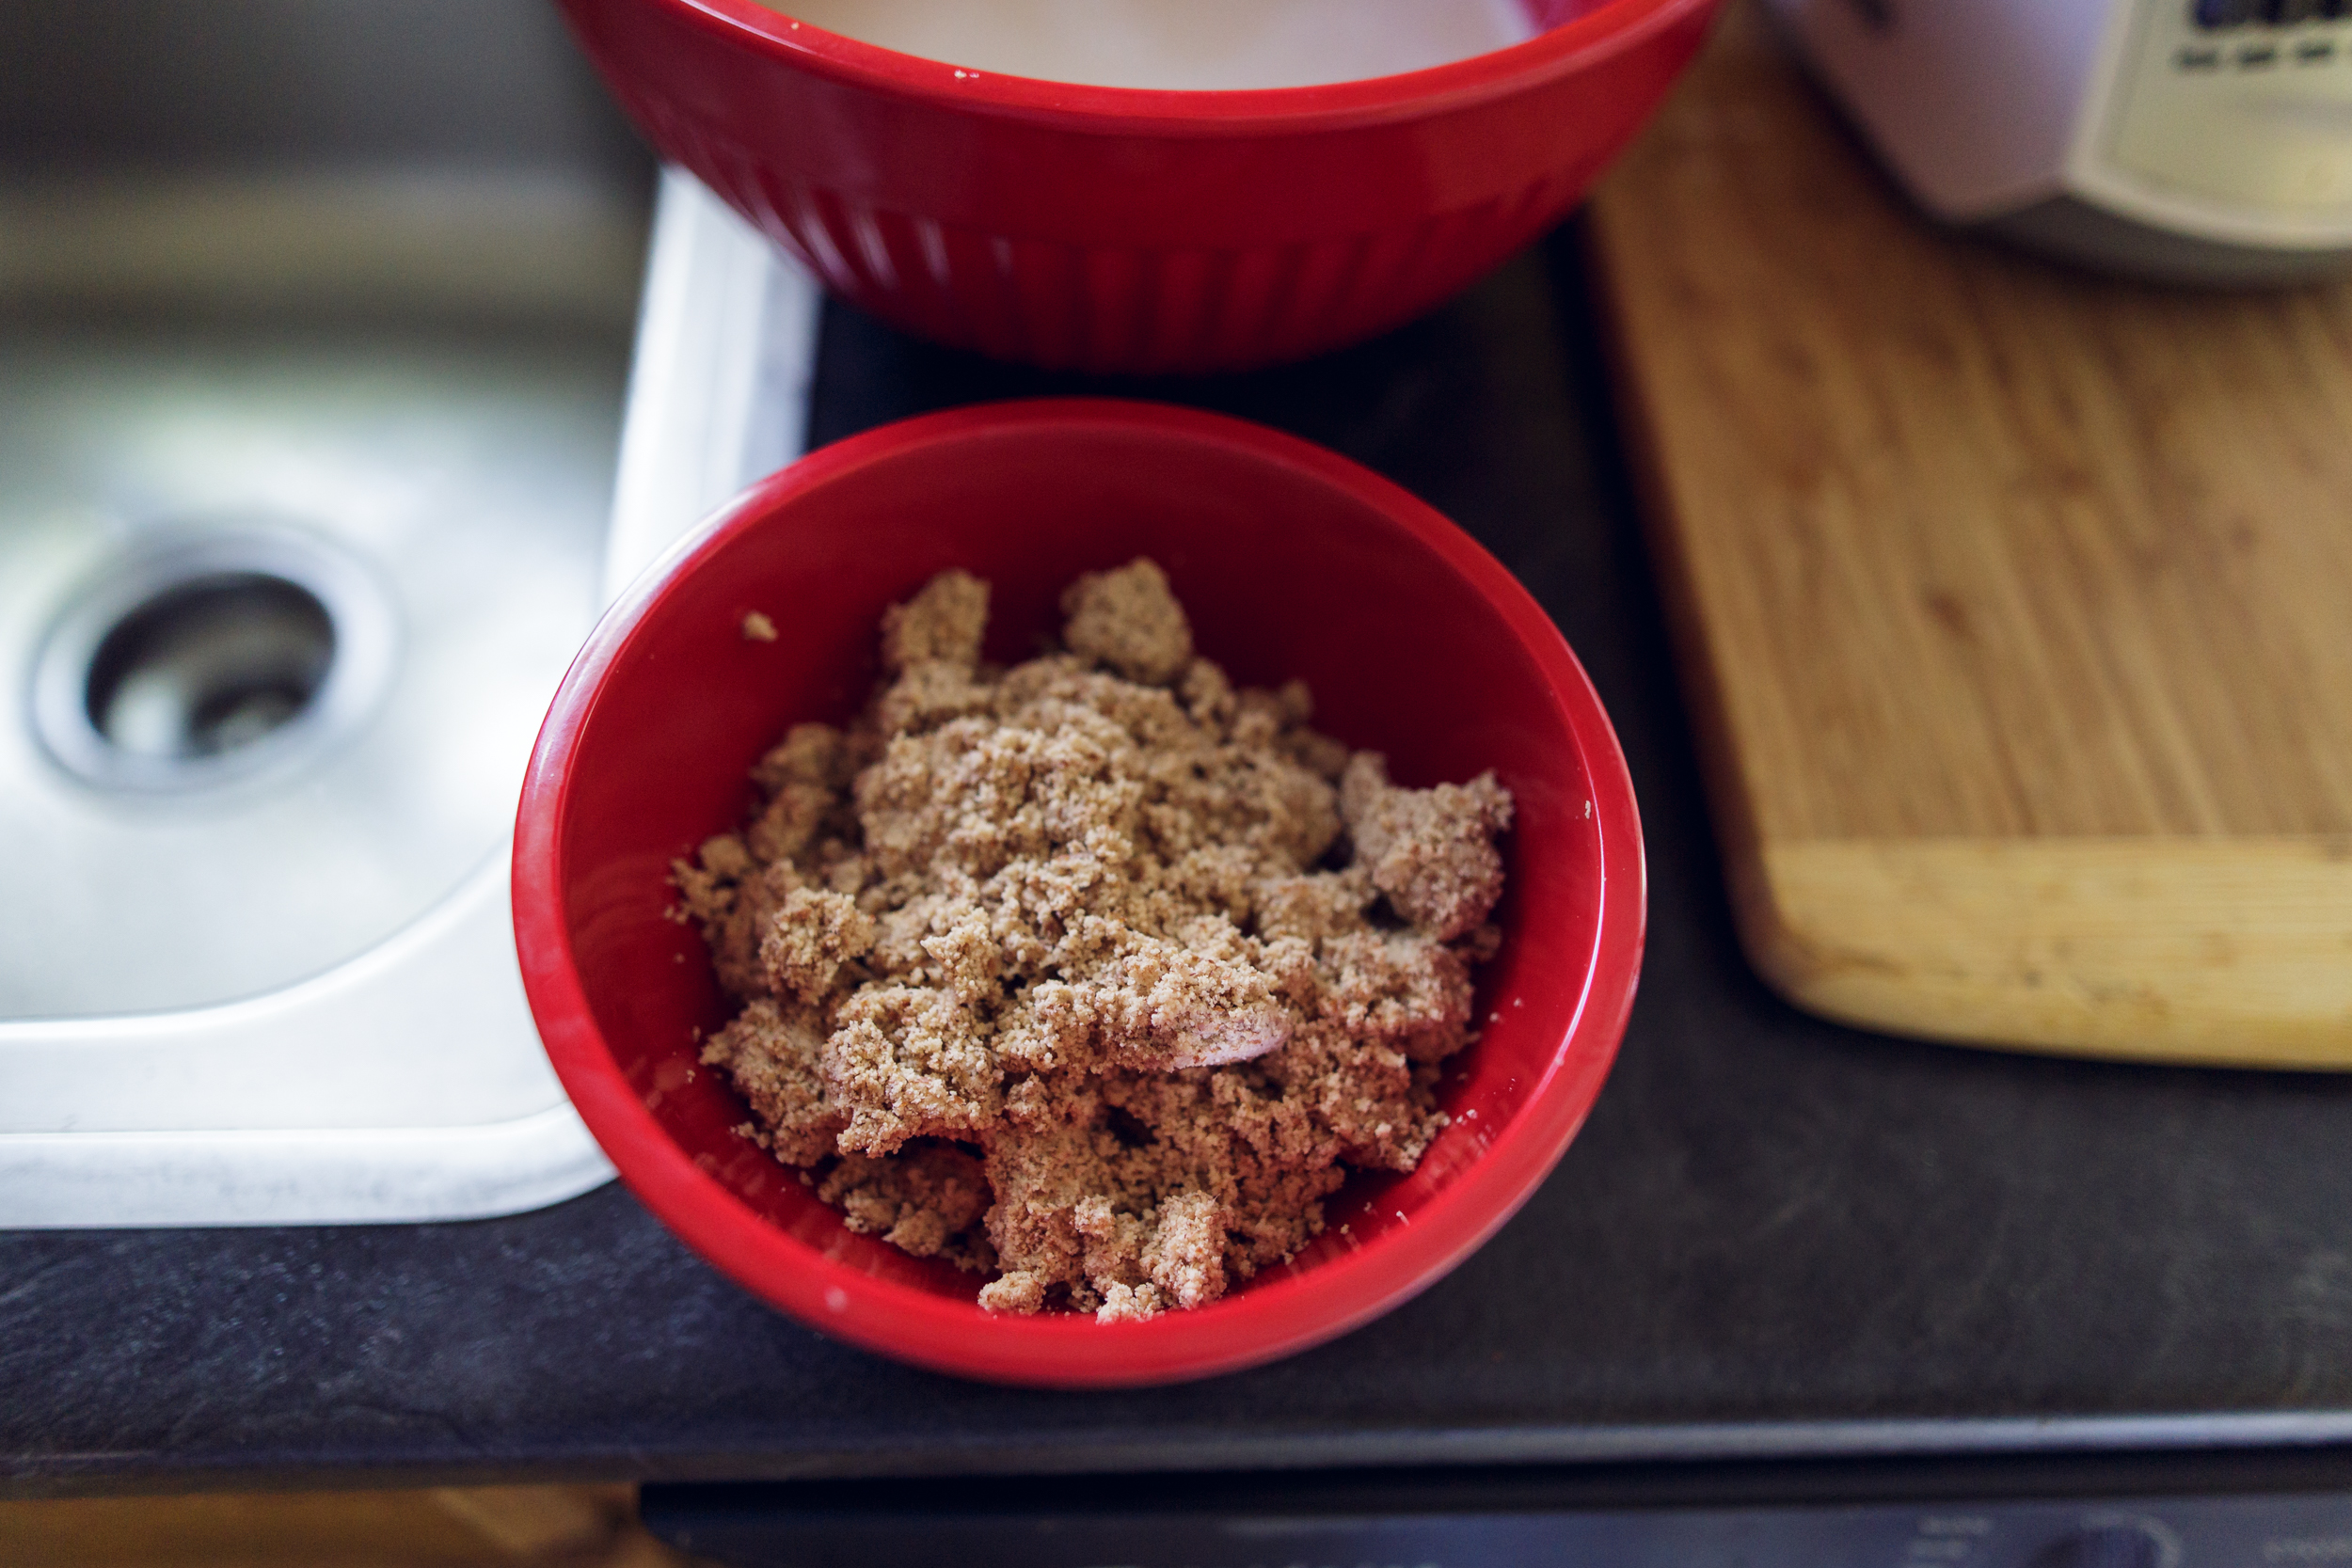
You'll be left with almond meal in your cheesecloth/tights/whatever you're using. You could compost it, but you can also use it for a bunch of things. You can toast it or leave it as is; put into smoothies, sprinkle on salads, or use as breading for chicken or fish. My next project? Almond meal burgers. Stay tuned.
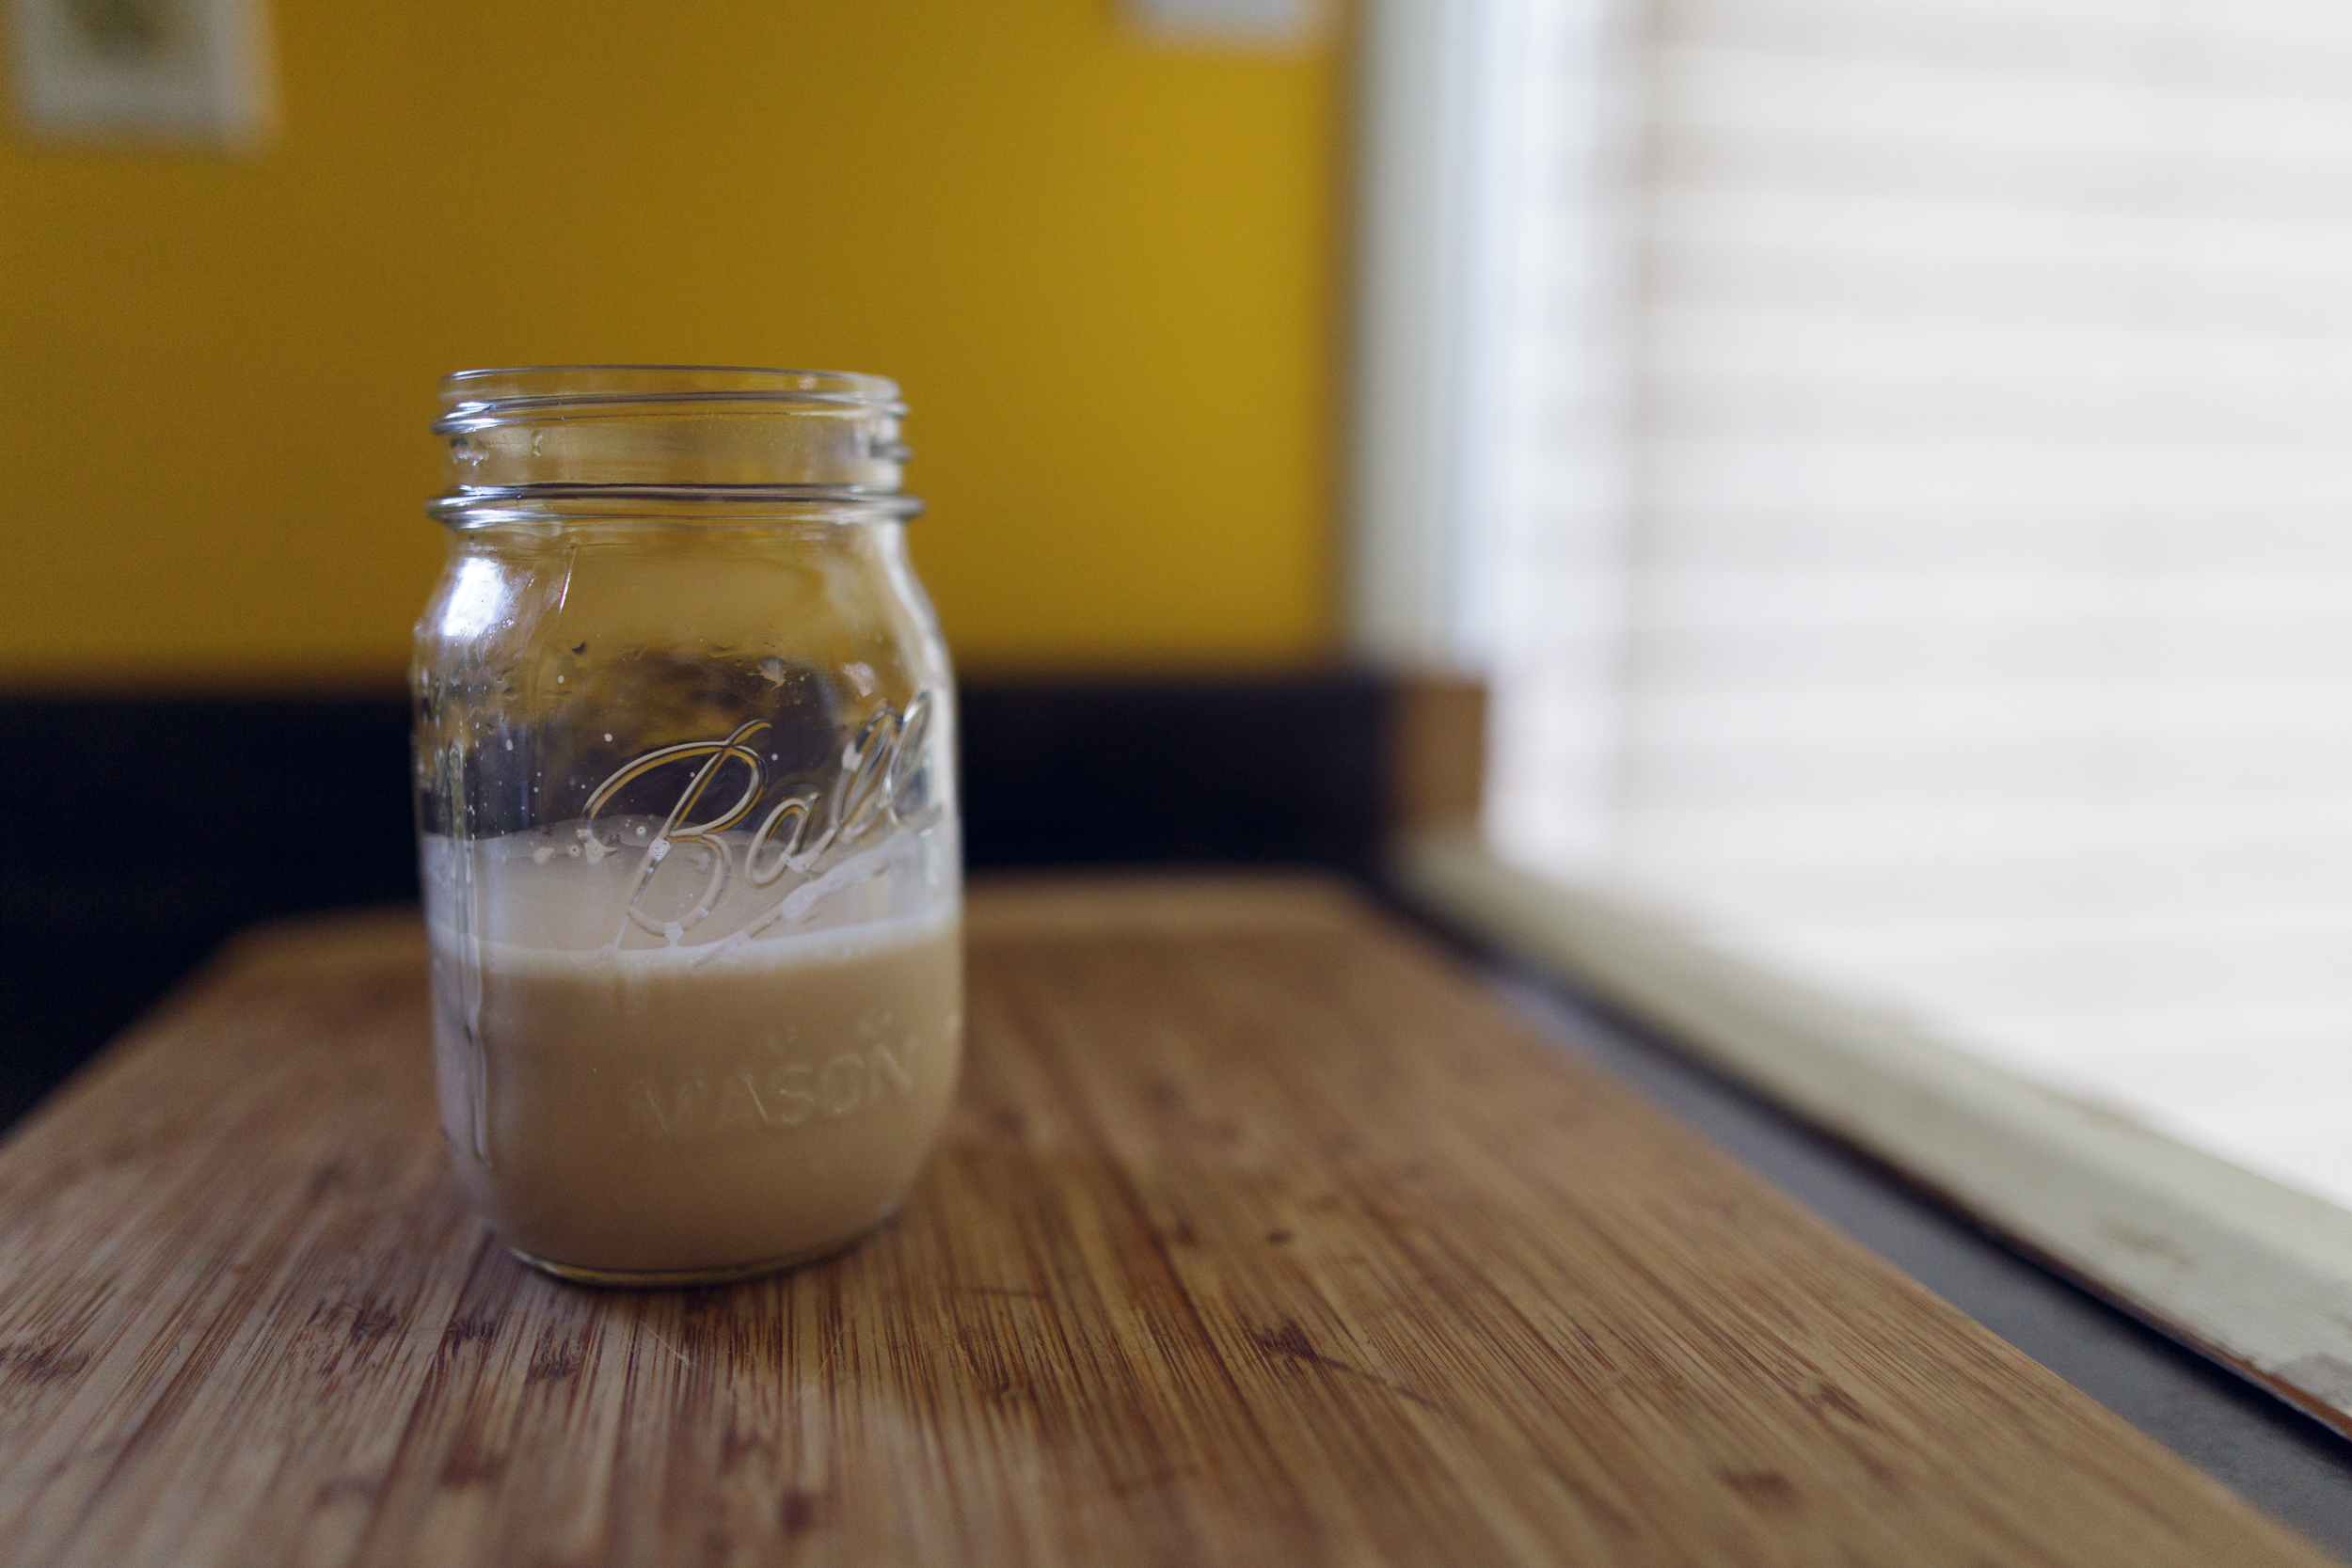
Pour some of your newly-made almond milk into a fancy glass. Taste. Marvel at how much better it tastes than store bought.

Pour your final product into a fancy container such as the watermelon-patterned jar I used. Put in your fridge. Homemade almond milk has a shorter shelf life than store bought so I limit myself to making about 4 cups at a time. It's SO TASTY and is a very easy process. Try it! What's your favorite way to use almond milk? Let me know in the comments!